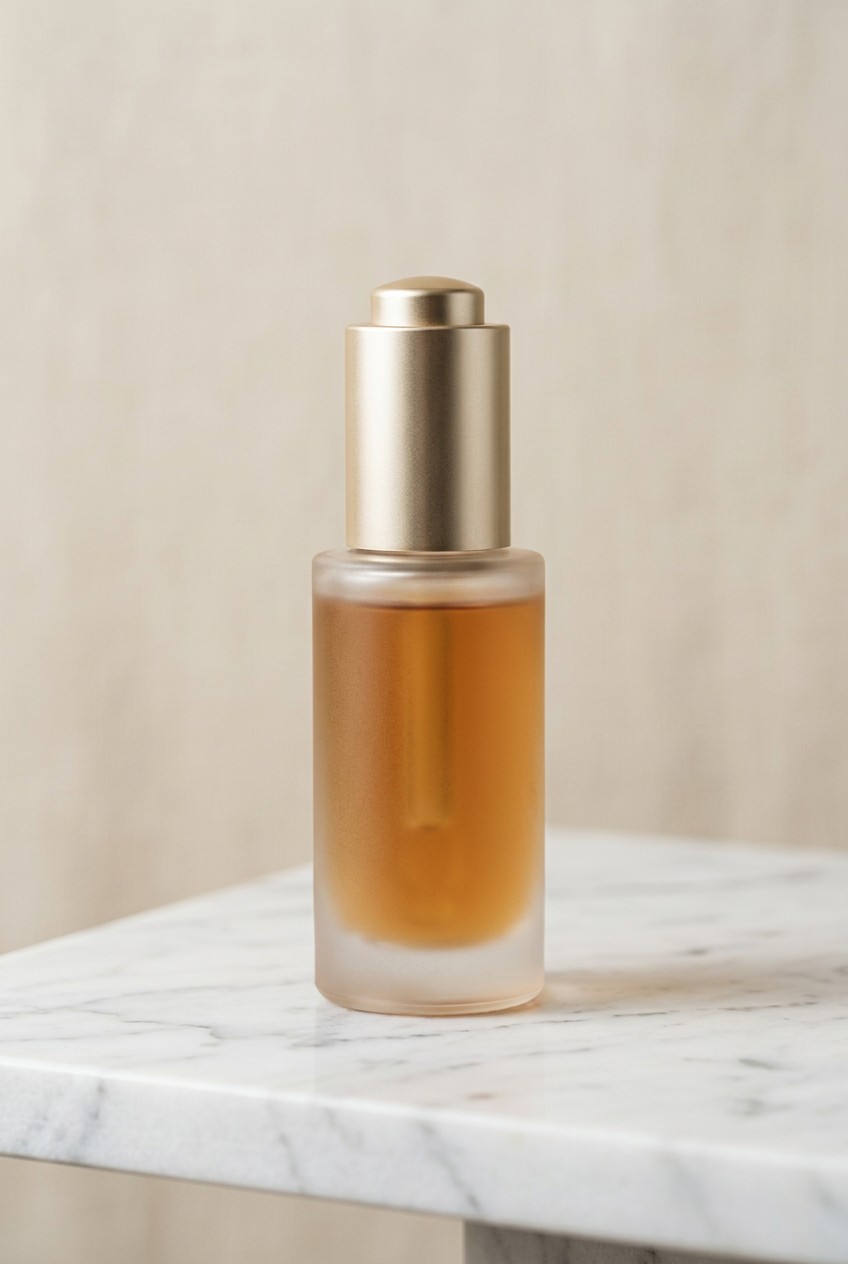
What’s Inside
- Master Diffused Lighting for a Juicier Look in Skincare Product Photography
- Highlight Textures with Macro Lenses and Palette Knives
- Embrace Reflective Surfaces for Luxury Vibes
- Create Dynamic Water Splashes to Emphasize Hydration
- Use Natural Elements to Tell an Ingredient Story
- Employ Rim Lighting for Definition on White Products
- Showcase Application with In-Action Shots
- Prioritize Spotless Products and Packaging
- Maintain Consistent Camera Settings for Brand Cohesion
- Leverage Colored Backgrounds for Brand Positioning
- Avoid Over-Editing to Maintain Authenticity
- Utilize Pedestals and Risers for Dynamic Composition
- Play with Shadows for Mood and Depth
- Capture the Golden Hour for Skincare Product Photography
Last Tuesday at Target, I stared at a $24.99 2 oz bottle of Versed Dew Point moisturizing gel and realized my own skincare product photography looked like absolute garbage compared to their endcap ad. Skincare photography is unforgiving if you don’t know the exact lighting and texture tricks. I spent three months shooting my favorite serums on my kitchen counter under harsh fluorescent lights, wondering why they looked like radioactive waste instead of luxury formulas. I ruined at least 4 oz of an expensive vitamin C serum trying to get a perfect smear shot before I finally figured out the right tools. I’m going to walk you through exactly how I shoot products now, skipping the textbook nonsense and focusing on what actually works.
1. Master Diffused Lighting for a Juicier Look in Skincare Product Photography

I used to point a bare desk lamp at my $18.50 16 oz bottle of CeraVe Hydrating Facial Cleanser and hope for the best. The result was a blown-out, glaring mess. You need soft, diffused lighting to minimize harsh shadows and create that smooth, juicy texture we all want. I finally bit the bullet and bought a Godox FV150 continuous light for $289.00. I place my softboxes to the side and slightly behind the product. This angle makes thick moisturizers and watery serums look plump. If you’re shooting glossy packaging, you’ll fight aggressive glare. I tried this wrong for months before figuring out that diffuser panels are mandatory. Just place a cheap $14.99 Neewer diffusion panel between your light and the product to spread the light. It kills the ugly reflections. Honestly, skip the bare ring lights. They make everything look flat, cheap, and totally unappetizing. A good diffused setup makes a basic cream look high-end.
2. Highlight Textures with Macro Lenses and Palette Knives

Smear shots are the hardest part. I wasted almost a full 1.7 oz jar of Tatcha The Dewy Skin Cream—which costs a painful $72.00 at Sephora—trying to get a perfect swatch using just my fingers. It looked like a kindergarten finger painting. To showcase the consistency of a cleanser or thick oil, you need precise tools. I use a cheap $4.50 metal palette knife from the craft aisle at Walmart to scoop and shape the product. The rigid edge creates those sharp, opaque smears that cleansing gels need to look appetizing. But a good smear is nothing without the right lens to capture the tiny air bubbles. I personally swear by my Canon EF 100mm f/2.8L Macro lens. It costs around $1,299.00, but it gets you so close you can practically feel the hydration through the screen. If you’re using a standard kit lens, you won’t get that intimate, microscopic detail.
3. Embrace Reflective Surfaces for Luxury Vibes

Putting a sleek glass bottle on a plain white poster board is boring. I buy 12×12 inch black mirror acrylic sheets from Amazon for $16.99 a pack. Placing a $135.00 1 oz bottle of SkinCeuticals CE Ferulic on a glossy black surface adds instant depth and elegance. I tried using a regular bathroom mirror once. Don’t do it. It creates a weird, ghostly double reflection because of how the thick glass is layered over the silver backing. Acrylic is the only way to go for a clean, sharp reflection. When I shoot sleek packaging, the reflection grounds the product so it doesn’t look like it’s floating. Just keep a microfiber cloth handy. These glossy surfaces attract dust like a magnet. I spend half my time wiping away lint. It’s annoying, but the final shot looks expensive.

Eclat Skincare Vitamin C Serum – Skin Care for Dark Spots
Eclat Skincare Vitamin C Serum – Skin Care for Dark Spots punches above its price — 753 buyers rated it 4.5 stars. I would buy it again.
4. Create Dynamic Water Splashes to Emphasize Hydration

Nothing says “this will fix your dry skin” better than a literal splash of water. Capturing water effects communicates a product’s hydrating benefits instantly. Last Friday at Whole Foods, I bought a bag of fresh navel oranges for $5.99 to drop into a water tank with a 1.7 oz jar of Neutrogena Hydro Boost Water Gel ($19.99). Pairing the chaotic splash with fresh fruit creates a vibrant composition. Let me warn you, this technique requires patience. I usually take 150 shots just to get one decent splash that doesn’t obscure the brand label. You have to drop the product into a small $35.00 glass aquarium and fire the shutter at the exact right millisecond. It’s messy. My kitchen floor is usually soaked. But when you nail that perfect crown of water wrapping around the jar, it’s worth the cleanup. You might also like: 15 Creative Aesthetic Makeup And Skincare for Any Style
5. Use Natural Elements to Tell an Ingredient Story

Consumers want to know exactly what they’re putting on their faces. You can build trust by pairing products with their key natural ingredients. I love hitting up Trader Joe’s to grab a $3.99 bundle of fresh lavender or some cheap potted aloe vera. If I’m shooting a 4 oz bottle of Thayers Rose Petal Facial Toner ($10.95), I’ll scatter delicate, real rose petals around the base. It highlights the transparency of the formula. Most people get this wrong by using fake, plastic greenery. Skip the fake stuff. It looks like shiny plastic under studio lights and ruins the organic vibe. I also like crushing up raw ingredients for texture. A small pile of raw vitamin C powder or a sliced-open aloe leaf dripping with real sap next to a serum bottle tells a compelling story. It makes the formula feel potent and active. You might also like: 20 Clever Aesthetic Blue Skincare That Actually Work
6. Employ Rim Lighting for Definition on White Products

Photographing white bottles on a white background is a nightmare. The product just blends into the backdrop. I struggled with this for weeks while trying to shoot a 16 oz tub of Vanicream Moisturizing Cream ($13.43 at Costco). The edges just disappeared. The secret is rim lighting. You have to place a light directly behind the product, pointing back toward the camera. This creates a subtle, glowing outline around the edges of the plastic jar, giving it strict definition and a three-dimensional quality. I use a small $45.00 Lume Cube panel as my backlight. It separates the white plastic from the paper perfectly. Without that rim light, your image will look flat and muddy. If you crank the backlight too high, you’ll wash out the frame and cause lens flare. Keep it subtle, just enough to carve out the shape. You might also like: 20 Brilliant Aesthetic Pink Skincare You Can Try Today

6Pcs Jade Roller for Face
A dependable everyday pick — 6Pcs Jade Roller for Face pulls in 28 ratings at 4.5 stars. Not flashy, just solid.
7. Showcase Application with In-Action Shots

People want to see how a product works, not just how pretty the bottle looks on a shelf. Featuring application shots makes the brand relatable. I like to shoot a macro close-up of a hand with a thick drop of lotion dripping onto the skin, or a rich cream swatched across two fingertips. I recently shot a 1.69 oz tube of La Roche-Posay Toleriane Double Repair Face Moisturizer ($23.99). Showing how that thick, white cream holds its shape on the back of a hand tells the buyer what to expect. I’ve learned the hard way that you need a hand model with flawless cuticles. I tried using my own hands after a stressful week, and the macro lens picked up every jagged edge. I had to spend three hours in Photoshop fixing my cuticles. Now, I always prep hands with a heavy $9.00 jojoba cuticle oil before shooting.
8. Prioritize Spotless Products and Packaging

This sounds obvious, but neglecting cleanliness is the most common mistake beginners make. High-resolution cameras see everything. A tiny speck of dust looks like a boulder on a macro lens. I was shooting a 1.7 oz jar of Olay Regenerist Micro-Sculpting Cream ($27.49) and didn’t bother wiping down the shiny red glass. When I pulled the photos up on my monitor, the jar was covered in greasy fingerprints and lint. I had to reshoot the entire setup. Now, I clean and polish products thoroughly before a shoot. I keep a $5.99 box of white cotton inspection gloves from Amazon in my studio. Once polished, I only handle it with the cotton gloves. You have to re-polish constantly, especially if you’re touching the glass jars to move them. It’s tedious, but it saves you hours of cloning out dust spots later.
9. Maintain Consistent Camera Settings for Brand Cohesion

You can’t just wing your camera settings every time. To ensure a consistent aesthetic, you need a baseline. I always lock my camera to a low ISO, usually 100 or 200, to keep the image crisp without grainy digital noise. For skincare, you want the entire bottle in focus, so a narrow aperture between f/8 and f/16 is mandatory. I set my shutter speed to 1/160 sec to sync with my studio strobes. You need a heavy-duty tripod. I use a $199.00 Vanguard Alta Pro. If you shoot handheld at f/16, your photos will be blurry. I also shoot strictly in RAW. JPEGs compress the color data, which ruins the subtle gradients in frosted glass. Shooting RAW gives you massive flexibility to fix white balance. If you’re shooting a $48.00 1 oz bottle of Sunday Riley Good Genes, you want those creamy colors to be accurate.

Vtopmart 3 Tier Clear Makeup Organizer with Drawer
A dependable everyday pick — Vtopmart 3 Tier Clear Makeup Organizer with Drawer pulls in 19 ratings at 4.5 stars. Not flashy, just solid.
10. Leverage Colored Backgrounds for Brand Positioning

White backgrounds are classic, but colored backgrounds are a 2026 trend to reinforce identity. I love using pastel colors for a soft feel. If I’m shooting a soothing product, like a 5 oz tube of First Aid Beauty Ultra Repair Cream ($38.00), a soft lavender backdrop communicates comfort. For cooling products, minty green is perfect. When I shoot luxury, I ditch the paper. A heavy $45.00 faux marble slab from a prop store or a yard of crushed velvet conveys sophistication. I made the mistake of using a neon orange background for a calming night cream once. The background color has to match the product’s vibe. Soft, muted tones generally work best because they don’t overpower the packaging. Just make sure the background material is matte so it doesn’t reflect your lights.
11. Avoid Over-Editing to Maintain Authenticity

We’ve all seen those skincare ads where the model’s skin looks like plastic. While post-production is crucial, over-editing leads to unrealistic expectations. I used to go crazy with the smoothing tools in Photoshop. I’d blur out every pore on a hand model swatching a $20.00 2 oz tube of The Ordinary Natural Moisturizing Factors. It looked fake. Now, I focus on natural adjustments. I stick to basic cropping, exposure balancing, and color correction to make sure the label looks accurate. If a cream has a slight yellow tint, I don’t color-grade it to look pure white. Let the real texture show. It’s okay if a swatch has tiny imperfections. Consumers are savvy now. They spot heavy Photoshop a mile away, and it destroys trust. Keep your edits clean, bright, and honest. Your photos will look better for it.
12. Utilize Pedestals and Risers for Dynamic Composition

Grouping three or four bottles on a flat surface usually looks like a boring police lineup. When photographing multiple products, use props to vary the heights and create an engaging composition. I bought a set of wooden octagon display risers on Etsy for $37.99, and they changed my group shots. I love staggering a tall 4 oz bottle of Paula’s Choice 2% BHA Liquid Exfoliant ($35.00) directly on the table, while placing a smaller eye cream on a 2-inch riser next to it. It forces the eye to travel through the frame. I used to stack products on books or upside-down mugs hidden under a cloth. It was a wobbly disaster, and a $60.00 glass serum shattered when a mug tipped. You can paint them to match your backdrop, and they make your compositions look intentional.
Clear Stackable Makeup Organizer with Drawer
Clear Stackable Makeup Organizer with Drawer has been one of the most consistently praised picks in this category. 302 reviewers averaged 4.5/5.
13. Play with Shadows for Mood and Depth

Flat, even lighting is safe, but strategic shadows make a photo stop someone mid-scroll. Playing with lights and shadows creates a calm, peaceful vibe or a dramatic, high-fashion look. For a premium glow, I rely on backlighting, especially for clear or reflective packaging. When I shoot a 1.35 oz glass dropper bottle of Glow Recipe Watermelon Glow Niacinamide Dew Drops ($35.00), I position a strong light behind it and slightly to the right. The light pushes through the pink liquid, making it glow from the inside out, while casting a long, elegant shadow toward the camera. I used to be terrified of shadows and would blast my setup with light from every angle. The result was boring. Don’t be afraid of the dark areas. A crisp, diagonal shadow across a textured background adds depth and makes the product pop.
14. Capture the Golden Hour for Skincare Product Photography

You don’t always need a $1,000 lighting setup. For natural light photography, nothing beats the “golden hours”—that brief window in the early morning or late afternoon. The sun sits low in the sky, casting a warm ambiance ideal for skincare. Last Sunday, I grabbed an $8.00 8 oz bottle of Heritage Store Rosewater Toner from Sprouts and set it on my living room floor at 4:30 PM. The long, golden rays of sun hit the pink plastic bottle perfectly. It created this dreamy, aspirational vibe that studio strobes can’t replicate. The only downside is that you have to work fast. The light changes every two minutes. I’ve missed the perfect shot so many times because I spent too long tweaking a smear of cream. If you’re shooting during golden hour, have your composition locked in 20 minutes before the light hits your spot.
Honestly, mastering these setups changed how I look at my favorite serums and creams. It’s a lot of trial and error, a ton of messy water splashes, and wiping fingerprints off glass jars until your hands cramp. But once you nail that perfect, juicy texture shot, it’s satisfying. I highly recommend grabbing a cheap macro lens and some acrylic boards just to practice the basics. Don’t overthink it, just start shooting and adjusting your lights. If you found these tips helpful, pin this article to your photography or business boards so you can reference these lighting setups before your next big shoot!
Frequently Asked Questions
What is the best lighting for skincare product photography?
Soft, diffused lighting is best. Use continuous lights with softboxes or diffusion panels to minimize harsh shadows and prevent aggressive glare on glossy packaging.
How do I photograph skincare textures?
Use a macro lens like a 100mm to capture tiny details. Apply the product using a metal palette knife to create sharp, opaque smears that showcase the consistency.
What camera settings should I use for product photos?
Keep your ISO low (100-200) to avoid noise, use a narrow aperture (f/8 to f/16) for sharp focus across the bottle, and shoot in RAW format for editing flexibility.
How can I avoid glare on glass skincare bottles?
Place a diffusion panel directly between your light source and the product. This spreads the light evenly across the surface and completely kills ugly reflections.
