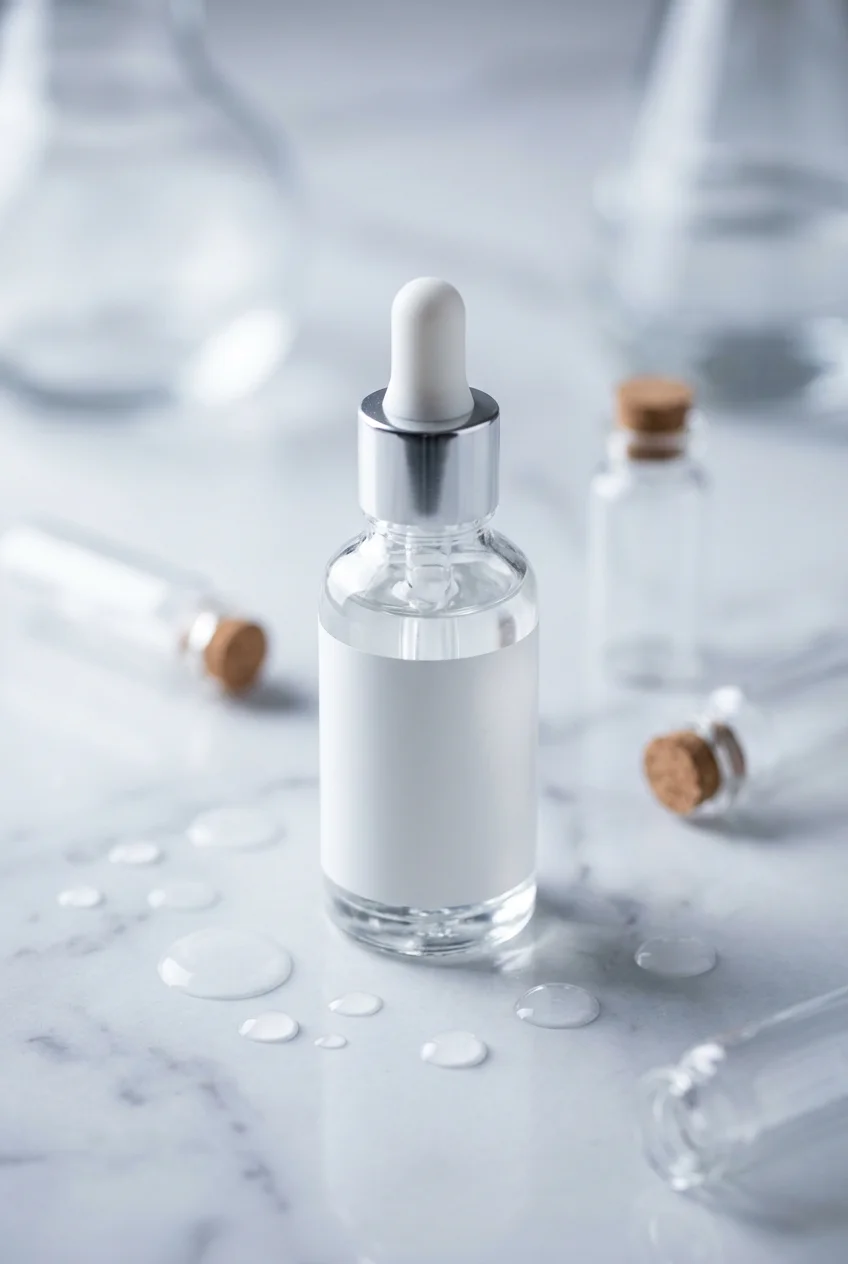
What’s Inside
- Master Macro Shots for Texture Revelation
- Optimize Lighting for Dimension and Realism
- Demonstrate Precise Product Quantities in Your Skincare Product Video
- Show, Don’t Just Tell, Application Techniques
- Incorporate “Before-and-After” Comparisons Effectively
- Highlight Trending Ingredients and Product Categories
- Address Common Skincare Mistakes On Camera
- Integrate ASMR Elements for Multisensory Engagement
- Feature Seasonal Skincare Adjustments
- Utilize Timelapse for a Full Skincare Product Video Routine
- Prioritize Stable Footage with a Tripod
- Showcase Unexpected Product Uses
My first attempt at a skincare product video last November looked like I filmed it inside a dimly lit closet using a potato. I spent three hours trying to capture the texture of a $42.00 moisturizer, only to realize the footage was so grainy you couldn’t tell if I was spreading face cream or mayonnaise. If you want people to actually trust your recommendations, your visuals need to reflect the science behind the formulas. I’m Kailyn Cora, and I’ve spent years analyzing cosmetic chemistry and testing application methods. I’m going to walk you through exactly how to document formulas accurately. Let’s fix your lighting, upgrade your macro shots, and stop wasting expensive serums on camera.
1. Master Macro Shots for Texture Revelation

You can’t just hold a jar up to your iPhone and expect people to understand a lipid cream. I learned this the hard way last Tuesday at Whole Foods. I was trying to film a quick clip of a tester, and the overhead fluorescent lights completely flattened out the product. To accurately show a product’s viscosity, you need a dedicated macro lens. I currently use a Sony A7III paired with a 90mm Macro lens. This setup captures the exact particle textures that matter to skincare ingredient nerds. When I filmed the SkinFix Barrier+ Triple Lipid-Peptide Face Cream ($54.00 for 1.7 oz), I used a metal palette knife to drag exactly one-half teaspoon across a glass plate. The macro lens caught the rich, buttery density, showing exactly how it spreads without turning watery. It won’t pill under makeup, and the macro footage proves it. If you’re using a phone, buy a clip-on macro attachment for $15.00. Show the product interacting with a surface. Viewers need to see if a gel-cream has a stringy finish or a silicone slip. That visual data builds trust faster than reading an ingredient list out loud.
2. Optimize Lighting for Dimension and Realism

Flat lighting makes expensive serums look like cheap drugstore knockoffs. I used to film in my bathroom with the overhead vanity lights blaring. It cast harsh shadows under my eyes and made every product look greasy. Now, I employ soft, diffused studio lighting with subtle golden highlights to create a clean, clinical mood. If your lights aren’t diffused, your skin texture will look artificially harsh. If you’re on a budget, set up right next to a large window for natural light, but soften it. I use a piece of white corrugated plastic poster board I bought at Target for $3.99 as a bounce card. I prop it up opposite the window to fill in shadows. This adds depth and emphasizes the product’s finish. For professional setups, I position a key light with a beauty dish three feet away at a 45-degree angle. This creates a wrap-around effect that highlights the cheekbones. When I reviewed the Biossance Squalane + Vitamin C Rose Oil ($74.00 for 1.01 oz), that specific lighting angle caught the exact moment the oil absorbed, proving it didn’t leave a heavy film. Good lighting is non-negotiable. Trust me on this.
3. Demonstrate Precise Product Quantities in Your Skincare Product Video

Most people use way too much product. They slather on half a palmful of active ingredients and then wonder why their moisture barrier is compromised. Your skincare product video needs to educate your audience on the exact correct amount to dispense. I follow dermatologists like Dr. Dray, who strictly recommend two to three drops of serum for the entire face and neck. When I film, I use a glass dropper to place exactly three drops of the Selfless by Hyram Niacinamide and Maracuja Daily Barrier Support Moisturizer ($24.00 for 1 oz) onto the back of my hand. I verbally state the measurement while showing the visual scale. For thicker moisturizers, I hold up a US dime next to the dollop of cream to provide a concrete size reference. I tried doing this without a coin reference once, and the comments were flooded with people asking if my “pea-sized” amount meant a sweet pea or a snap pea. Be literal. Show a dime. When you demonstrate that a $68.00 jar of Tatcha The Dewy Skin Cream (1.7 oz) only requires a 1/4 teaspoon per application, you justify the price tag. You might also like: 20 Clever Aesthetic Blue Skincare That Actually Work

Clear Acrylic Makeup Organizers for Vanity,Countertop
A dependable everyday pick — Clear Acrylic Makeup Organizers for Vanity pulls in 208 ratings at 4.5 stars. Not flashy, just solid.
4. Show, Don’t Just Tell, Application Techniques

Rubbing aggressive active ingredients into your face like you’re scrubbing a hot cast iron pan is a massive mistake. I destroyed my skin barrier in 2021 by aggressively rubbing in a 10 percent glycolic acid toner. Now, I dedicate specific segments in my videos to application mechanics. Instead of smearing things around, demonstrate gentle patting motions for serums. This is specifically important around the delicate orbital bone to avoid micro-tearing. For oily skin types, pressing products into the skin yields much better absorption than rubbing. I shot a dedicated tutorial last month showing how to apply the SkinCeuticals C E Ferulic ($182.00 for 1 oz). I dispensed four drops into my palm, rubbed my hands together once, and firmly pressed my palms into my cheeks, forehead, and chin. I kept my hands pressed against my skin for three full seconds per zone. It visually communicated the “press and hold” technique far better than just talking about it. When you show the exact physical pressure required, you transition from being a casual reviewer to a reliable technical resource. I’d rather watch a silent 10-second clip of proper pressing technique than listen to a monologue. You might also like: 12 Skincare For Oily Skin Worth Trying
5. Incorporate “Before-and-After” Comparisons Effectively

Claiming a product reduces redness means nothing without visual proof. I rely heavily on side-by-side visuals to communicate actual effectiveness. Last winter, the dry air in my apartment caused a massive eczema flare-up on my jawline. Instead of hiding it, I documented the healing process. I filmed the angry, raw redness “before” introducing the La Roche-Posay Cicaplast Gel B5 ($22.99 for 1.35 oz). Then, I filmed an “after” shot seven days later in the exact same lighting conditions. The side-by-side comparison showed smooth, healed skin without any redness. You have to maintain strict control variables for these comparisons. If you shoot the “before” in harsh bathroom lighting and the “after” in front of a sunny window, your audience will call out the fake results. I always stand exactly 24 inches from my ring light for both shots. I bought a cheap measuring tape at Walmart for $1.98 just to ensure the distance is identical every single time. Honest documentation of a product fixing a specific, visible problem is compelling. Don’t use smoothing filters. Let the texture show. Viewers trust you more when they see your actual pores.
6. Highlight Trending Ingredients and Product Categories

Skincare science moves fast. Ingredients that were niche two years ago are now standard. I focus heavily on clinical ingredients like retinoids, niacinamide, and alpha hydroxy acids because dermatologists emphasize them for long-term skin health. Right now, I’m analyzing the shift toward advanced soothing agents in the 2026 Korean skincare market. Products utilizing PDRN (salmon DNA) and high-percentage azelaic acid are dominating shelf space. I recently featured the haruharu wonder Rose PDRN Soothing Serum ($22.00 for 1 oz) to show its slightly viscous, stringy texture. I paired it with the Purito SEOUL Oat In Calming Gel Cream ($19.00 for 3.38 oz) to demonstrate a complete barrier-repair routine. I bought both of these during a quick run to Sprouts last week when I noticed they expanded their K-beauty aisle. I like to show the ingredient list on the back of the box, pointing out exactly where the active ingredient falls in the formulation. I zoom in tight on the INCI list and use a pen to physically underline the preservatives and the actives. It proves you actually read the label instead of just repeating brand marketing.

Jade Gua Sha and Face Roller
Jade Gua Sha and Face Roller punches above its price — 12 buyers rated it 4.5 stars. I would buy it again.
7. Address Common Skincare Mistakes On Camera

Your content shouldn’t just be a highlight reel of nice creams. You need to actively correct common user errors. The biggest non-negotiable mistake I address is inadequate SPF application. People apply a tiny dot of sunscreen and think they’re protected from UV rays. I dedicate entirely too much time to showing the “two-finger rule.” I squeeze two thick lines of the Dr. Jart+ Everyday Mineral Sunscreen ($40.00 for 1.69 oz) down my index and middle fingers. I hold my hand up to the lens so viewers see exactly how much 1/4 teaspoon of sunscreen actually looks like. I used to buy the MD Solar Sciences Mineral Creme SPF 50 ($32.00 for 1.7 oz) in bulk at Costco just to have enough on hand for these demonstrations. I specifically show the initial white cast and then film the entire 45-second rub-in process in real-time. Do not edit out the blending process. When you cut away and come back with perfect, invisible coverage, people assume you wiped it off. Show the awkward, greasy phase. Show the exact amount of friction required to make a zinc oxide formula disappear. You might also like: 11 Skincare Routine Indonesia That Actually Work
8. Integrate ASMR Elements for Multisensory Engagement

Skincare is inherently tactile, but video is purely visual. To bridge that gap, you need high-quality audio that captures the physical interaction with the product. I started focusing on ASMR elements after I realized my videos felt completely sterile. Now, I carefully capture the gentle sounds of a glass dropper tapping against a serum bottle, or the wet friction of a gel moisturizer being pressed into the cheeks. You can’t capture this with your phone’s built-in microphone. I use a Rode Wireless GO II lavalier microphone ($299.00) clipped directly to my collar. When I scoop out a 1/2 teaspoon of the Farmacy Green Clean Makeup Meltaway Cleansing Balm ($36.00 for 3.4 oz), the microphone catches the satisfying, waxy scrape of the spatula. It also picks up the soft emulsifying sound as the balm turns into an oil on my skin. One major negative I learned quickly: if you breathe heavily through your nose while wearing a lav mic, you sound like Darth Vader. I ruined an entire 10-minute take last month because I had a slight cold and didn’t check my audio levels. Keep your breathing controlled.
9. Feature Seasonal Skincare Adjustments

A routine that works in July will absolutely destroy your skin barrier in February. I structure my content calendar around seasonal atmospheric changes. I specifically document how I transition my routine to combat winter dryness and summer oiliness. In November, I film the switch from lightweight gels to heavier ceramides. I show the exact texture difference between my summer moisturizer and the Rovectin Lotus Water Cream ($20.00 for 2 oz) that I rely on for winter hydration. Conversely, in late May, I focus on chemical exfoliation to manage increased sebum production. I demonstrate applying exactly 1/2 teaspoon of the Paula’s Choice SKIN PERFECTING 2 percent BHA Liquid Exfoliant ($35.00 for 4 oz) onto a cotton round. I bought my last bottle at Trader Joe’s, surprisingly, when they had a weird overstock sale in their beauty section. I specifically show how I swipe it only over my T-zone, avoiding the drier perioral area around my mouth. Teaching your audience how to read their skin’s daily needs and adjust their product lineup accordingly is far more valuable than just telling them to buy a new serum.

EQQUALBERRY Vitamin Illuminating Serum | Niacinamide 4% +
If you want something that just works, EQQUALBERRY Vitamin Illuminating Serum | Niacinamide 4% + Brightening is a safe bet (112 reviews, 4.5 stars).
10. Utilize Timelapse for a Full Skincare Product Video Routine

Nobody wants to sit through a real-time, 15-minute video of you waiting for your serums to dry down. However, skipping the absorption phase entirely leaves out crucial information. I use timelapse footage to efficiently demonstrate how evenly and smoothly a product settles into the skin over time. When I tested the SkinCeuticals Hydrating B5 Gel ($90.00 for 1 oz), I applied three drops and then sat completely still in front of the camera for 10 minutes, recording at one frame per second. The resulting 15-second timelapse clearly showed the tacky, wet finish slowly turning into a plump, matte surface. The viewer got to see the exact dry-down process without wasting their afternoon. I learned to do this after a disastrous attempt to talk through a 12-minute sheet mask application. I ran out of things to say by minute three and just sat there blinking at the lens like a hostage. Timelapse solves the pacing issue while retaining the visual evidence of a product’s performance. Just make sure your lighting doesn’t shift during the recording. A cloud passing over your window will cause a jarring flicker.
11. Prioritize Stable Footage with a Tripod

Shaky, handheld footage makes you look like an amateur and makes your viewers physically nauseous. A steady camera is absolutely crucial, especially when you’re punching in for extreme close-up shots of pores and fine lines. I tried filming a texture shot holding my camera in one hand and applying a serum with the other. The resulting footage looked like I was filming during a minor earthquake. Now, I refuse to hit record without a heavy-duty tripod. I use a Manfrotto aluminum tripod I picked up for $149.00. It ensures the camera is locked at exactly eye level and maintains razor-sharp focus on my skin. If you’re using an autofocus lens, a shaky camera will cause the focus to constantly hunt back and forth between your face and the background. This completely ruins the visual clarity of the product application. Even a cheap $19.99 Amazon Basics tripod is better than holding your phone. I actually bought a backup plastic tripod at Kroger last year when I forgot my main gear on a trip. It wasn’t great, but it kept the frame completely static while I demonstrated a 1/4 teaspoon clay mask application.
12. Showcase Unexpected Product Uses

I don’t just read the instructions on the box. I experiment with formulations to find off-label uses, and documenting these discoveries provides massive value. For example, a lot of brightening serums have a slightly tacky, luminous finish that works terribly under matte foundation but beautifully as a targeted highlighter. I filmed a tutorial showing how I use the Ponds Bright Beauty Spot-less Glow Serum ($12.99 for 1 oz). Instead of applying it all over my face, I dabbed exactly two drops onto the high points of my cheekbones after my base makeup was fully set. I used a damp beauty sponge to press the serum into the skin. The result was a glassy, realistic dewiness that no powder highlighter could replicate. I also show how mixing three drops of a heavy facial oil into a full-coverage matte foundation completely alters the finish. I demonstrated this with the Estee Lauder Double Wear Foundation ($48.00 for 1 oz). By mixing it on a glass palette, viewers saw the thick pigment sheer out into a hydrating skin tint. Showing these chemistry experiments proves you actually understand how cosmetic vehicles interact.
I’ve spent hundreds of hours staring at raw footage of my own pores to figure out what actually translates on screen. If you implement even half of these technical adjustments, your content will instantly look more credible. The difference between an amateur clip and a professional skincare product video comes down to lighting, stability, and specific measurements. Stop guessing with your application amounts, and start treating your camera setup like a small science lab. Save this page to your browser bookmarks or pin it to your creator mood board so you don’t forget the lighting angles for your next shoot.
Clear Stackable Makeup Organizer with Drawer
Honestly, Clear Stackable Makeup Organizer with Drawer surprised me — sturdier than it looks in the photos, and over 310 buyers gave it 4.5 stars.
Frequently Asked Questions
What is the best lighting for a skincare product video?
Soft, diffused lighting is essential. Harsh direct light emphasizes unwanted shadows and makes products look greasy. Use a large window with a white bounce card, or a studio key light with a beauty dish positioned at a 45-degree angle.
How do I show skincare textures clearly on camera?
You need a dedicated macro lens or a macro attachment for your phone. Smear a half-teaspoon of the product across a glass palette using a metal spatula to capture the exact viscosity and particle density.
Why do my before-and-after skincare shots look fake?
Inconsistent variables ruin credibility. You must shoot both photos at the exact same time of day, using the exact same lighting setup, and standing the exact same distance from the camera lens.
Do I need a microphone to film skincare routines?
Yes, a lavalier microphone clipped to your collar drastically improves quality. It captures the tactile ASMR sounds of product application, like a glass dropper tapping or a cleansing balm emulsifying, which phone microphones miss.
