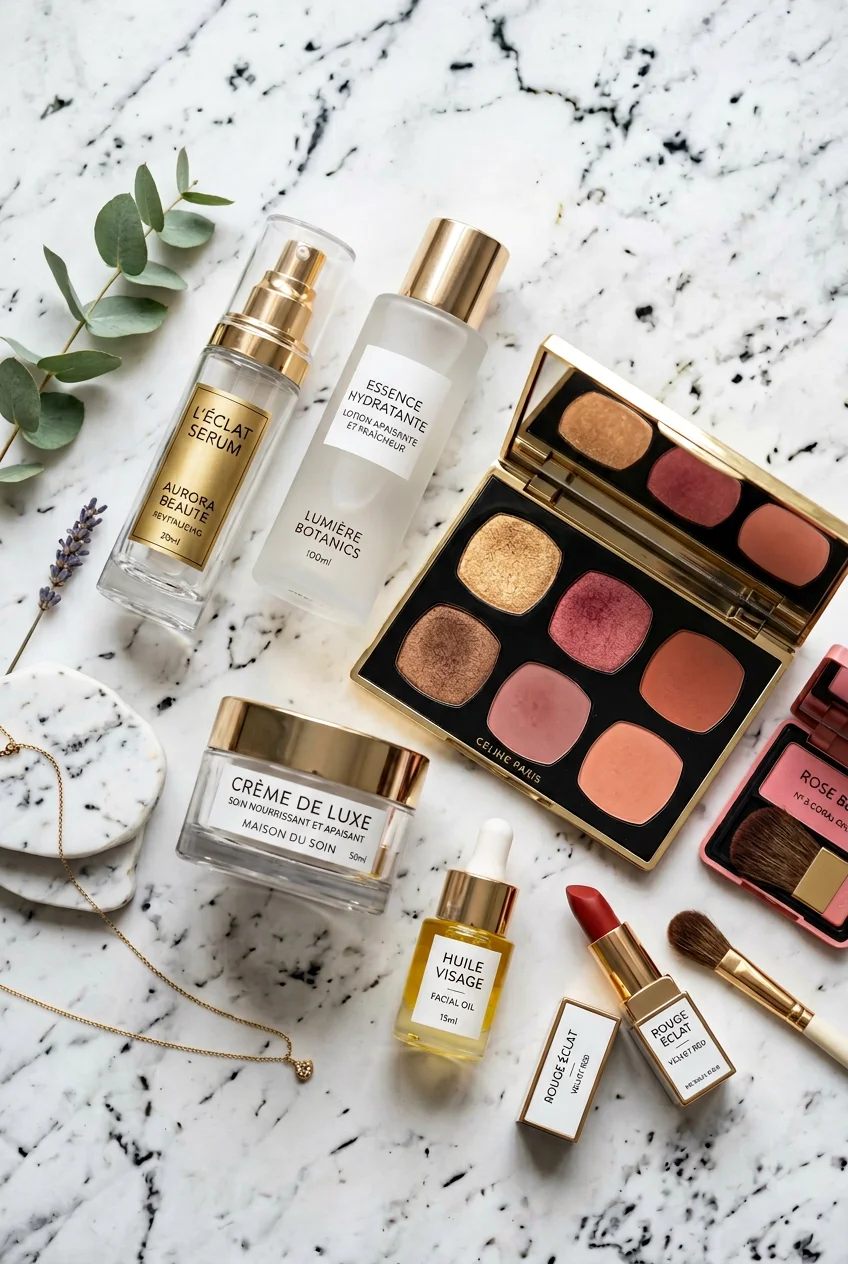
What’s Inside
- The Oil Cleansing Step That Fixed My Skincare And Makeup Routine
- The Two-Finger SPF Rule For Your Skincare And Makeup Routine
- The Retinol Sandwich Method
- Stop Scrubbing Your Face Off
- Plumping With Peptide Serums
- Feeding Your Face With Prebiotics
- The Damp Skin Moisture Trick
- Finding Your Exact Moisturizer Dose
- Bringing Everything Down To Your Chest
- Priming Your Canvas Properly
- Matching Foundation In Actual Sunlight
- Using Way Less Concealer
- Blending Until Your Arm Hurts
- The Gross Truth About Dirty Tools
Last Tuesday at Whole Foods, I caught a glimpse of myself in the harsh fluorescent reflection of the kombucha cooler. My foundation was flaking off my nose like cheap paint, and my jawline had a distinct orange stripe. That embarrassing moment forced me to overhaul my skincare and makeup routine. If you’re dealing with cakey makeup or painful dry patches, your current routine is probably working against you. I tried fixing my dry, textured skin the wrong way for months before figuring it out. I bought heavy, expensive creams. I scrubbed my face raw with gritty exfoliants. Nothing worked. It took a lot of trial and error (and some truly awful selfies) to figure out what actually makes a difference. I’m writing this because I’m tired of seeing terrible, unrealistic advice online. Let’s talk about the specific steps, the exact products, and the realistic amounts you actually need to get your face looking right.
1. The Oil Cleansing Step That Fixed My Skincare And Makeup Routine

I used to think washing my face once with a harsh foaming scrub was enough. It’s definitely not. I swear by double cleansing. It changed the texture of my skin. Start your evening off with an oil-based cleanser. I use the DHC Deep Cleansing Oil. It costs exactly $29 for a 6.7 oz bottle. You pump it into dry hands and massage it over your dry face. It feels like thick olive oil. It melts down stubborn waterproof mascara and SPF in seconds. I tried skipping this step last month and broke out along my jawline within three days. After rinsing the oil off, follow up with a water-based cleanser. The CeraVe Hydrating Facial Cleanser is my favorite. It costs $15 for a 16 oz bottle at Target. It has a slick, lotion-like texture that doesn’t foam. This two-step method removes every trace of grime without leaving your face feeling tight. Squeaky clean skin is damaged skin. Don’t do it.
2. The Two-Finger SPF Rule For Your Skincare And Makeup Routine

Most people get this wrong. I certainly did. I used to apply a tiny, pea-sized drop of sunscreen and wonder why my freckles kept getting darker. You need more than you think. The golden rule is the two-finger method. Squeeze two thick lines of SPF down your index and middle fingers. That’s roughly 1/4 to 1/2 teaspoon (or 1.2 to 2.5 ml) for your face and neck. I know it looks like a massive amount of white cream. It takes a solid minute of rubbing to get it to sink in. I recommend the EltaMD UV Clear Broad-Spectrum SPF 46. It runs about $40 for a 1.7 oz airless pump bottle. It smells faintly like clean laundry and sinks in without leaving a greasy film. If you’re going outside, reapply every two hours. I learned that the hard way during a beach trip when I ended up with a blistering red nose.
3. The Retinol Sandwich Method

Retinol is tricky. I burned my face off last winter because I thought more was better. I slathered a huge glob of it all over my cheeks. My skin peeled for a week. It looked like a chemical burn. If you’re new to retinol, start low and go slow. Find a formula with a 0.1 to 0.2 percent concentration. You only need a pea-sized amount. Seriously, just one little green pea size for your entire face. Apply it only one or two times a week at night. To stop the burning, I use the retinol sandwich method. Apply a thin layer of your regular moisturizer first. Let it dry for two minutes. Then apply the tiny drop of retinol. Finally, add another layer of moisturizer on top. This buffers the active ingredient so it doesn’t shock your skin. I picked up a basic night cream at Walmart for $12.99 (a 1.7 oz jar) just for this. It works perfectly.

Vtopmart 3 Tier Clear Makeup Organizer with Drawer
A dependable everyday pick — Vtopmart 3 Tier Clear Makeup Organizer with Drawer pulls in 2 ratings at 4.5 stars. Not flashy, just solid.
4. Stop Scrubbing Your Face Off

I used to love those gritty walnut scrubs. I thought the scratching meant it was working. I’m wincing just thinking about it. Physical scrubs create microscopic tears in your skin barrier. Your skin gets red, sensitive, and ironically, more acne-prone. Limit your exfoliation to two or three times a week max. Ditch the physical scrubs and switch to chemical exfoliants. They sound scary, but they’re much gentler. If you have oily or acne-prone skin, grab the Paula’s Choice Skin Perfecting 2% BHA Liquid Exfoliant. It costs $37 for a 4 oz bottle. It looks and feels like water. Splash a few drops into your palm and pat it over your face. If you just want to smooth out rough surface texture, try the COSRX AHA 7 Whitehead Power Liquid. It’s about $22 for a 3.38 oz pump bottle. It smells a little like sour apples, but it dissolves dead skin cells without any aggressive rubbing. You might also like: 15 Gorgeous Aesthetic Anti Aging Skincare You Haven’t Thought Of
5. Plumping With Peptide Serums

Peptides are little messengers that tell your skin cells to produce more collagen. I added them to my routine six months ago, and the bounce in my cheeks is better. I use The Ordinary Multi-Peptide + Copper Peptides 1% Serum. It costs $30 for a 1 oz dropper bottle. The liquid is a bright, shocking blue. It feels slightly tacky when you first pat it on, but that stickiness fades after thirty seconds. You only need two or three drops. Don’t fill the entire dropper. I made that mistake and wasted half the bottle in a month. Apply this right after you cleanse and before you put on any heavy creams. I bought my last bottle at Ulta. Peptides won’t give you overnight results. You have to be patient. It takes about eight weeks of daily use before you realize your fine lines look a little softer. You might also like: 15 Creative Photography Skincare Products Ideas That Make a Real Difference
6. Feeding Your Face With Prebiotics

Your skin has its own microbiome, just like your gut. I didn’t know this until a dermatologist explained it. If you strip away all the good bacteria with harsh soaps, your skin barrier gets angry. Prebiotic skincare feeds the good bacteria. Ingredients like inulin or oligosaccharides act like fertilizer for your skin’s natural defenses. I was wandering the aisles at Kroger last month and noticed how many drugstore brands are adding prebiotics to their formulas. I picked up the La Roche-Posay Toleriane Double Repair Face Moisturizer. It’s $23 for a 2.5 oz tube. It contains prebiotic thermal water. The cream is thick, white, and unscented. It feels soothing when you rub it in. Since I started focusing on prebiotic ingredients, my random dry patches have disappeared. If your face constantly feels tight and itchy, your microbiome is probably a mess. Stop using harsh soaps and start feeding the good bacteria instead. You might also like: 20 Clever Aesthetic Blue Skincare That Actually Work
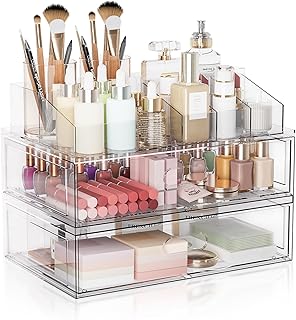
Clear Stackable Makeup Organizer with Drawer
Honestly, Clear Stackable Makeup Organizer with Drawer surprised me — sturdier than it looks in the photos, and over 306 buyers gave it 4.5 stars.
7. The Damp Skin Moisture Trick

This is the easiest tip on this list, and it won’t cost a dime. Apply your serums and moisturizers to damp skin. I used to grab a rough towel and furiously rub my face dry. That is a massive mistake. When your skin is perfectly dry, products just sit on top. They can’t penetrate. Now, I lightly pat my face with a soft microfiber cloth. I leave my skin slightly damp. It should feel cool to the touch, not dripping wet. Then, I immediately press my hyaluronic acid serum into my skin. The serum grabs onto those water droplets and pulls them deep into the skin layers. It feels like giving your face a tall glass of ice water. If you wait even three minutes, the water evaporates into the air and takes your skin’s natural moisture with it. Don’t wait. Apply your products immediately while your face is still damp.
8. Finding Your Exact Moisturizer Dose

Figuring out how much moisturizer to use took me years. I used to scoop out a massive glob and smear it everywhere. My face felt like a greasy frying pan, and my foundation slid right off by noon. You probably need less than you think. For a standard daily lotion, a nickel-sized amount is plenty for your entire face and neck. If you have extremely dry skin, you can bump that up to a quarter-sized amount. I buy the giant tub of CeraVe Moisturizing Cream at Costco. It costs about $17 for a 16 oz tub. It’s thick, rich, and feels like soft butter. Because it’s so heavy, I actually use a little less than a nickel size during the day. If you use too much, it just sits in your pores and causes blackheads. If you use too little, your skin will feel tight within an hour. Play around with the amounts until you find your perfect dose.
9. Bringing Everything Down To Your Chest

Skincare does not stop at your jawline. I learned this when I put on a low-cut dress last summer. My face looked smooth and bright, but my chest was covered in tiny sunspots and red creases. It was a harsh reality check. Your neck and décolletage have very thin skin, which means they show aging and sun damage much faster than your face. Now, whatever I put on my face goes all the way down to my collarbones. That includes cleansers, serums, moisturizers, and especially sunscreen. You have to treat your chest like it’s part of your face. It takes an extra ten seconds in the morning. I keep a cheaper bottle of sunscreen specifically for my neck and chest so I don’t waste my expensive face SPF. I grabbed a generic brand at Trader Joe’s for $8.99 (a 5 oz tube). It smells a little like coconuts, but it gets the job done.

Masirs Clear Makeup Organizer
If you want something that just works, Masirs Clear Makeup Organizer – 16-Compartment Cosmetic and Jewelry Ho is a safe bet (258 reviews, 4.5 stars).
10. Priming Your Canvas Properly

If you’re skipping primer, you’re making your foundation work too hard. Primer acts like double-sided tape for your makeup. It smooths over pores and gives the foundation something to grip. I used to think primer was a scam. Then I actually tried a good one. If you have dry skin or large pores, the e.l.f. Poreless Putty Primer is incredible. It’s only $10 for a 0.74 oz jar. It feels like a dense, slippery balm. You scoop a tiny bit out and press it into your skin. It fills in the little divots. If you get oily during the day, you need a mattifying option. The Rare Beauty Always An Optimist Pore-Diffusing Primer is fantastic. It costs $28 for a 0.94 oz bottle. It has a soft, gel-like texture that instantly blurs shine. Don’t smear primer all over your face like lotion. Just press it into the areas where you need it, like your nose and forehead.
11. Matching Foundation In Actual Sunlight

Store lighting is a liar. I bought a new foundation at Sephora, tested it on the back of my hand, and thought it was a match. The next day, I applied it in my bathroom and drove to work. When I flipped down the car visor mirror, I gasped. My face was a distinct shade of peanut butter, and my neck was pale white. It was horrifying. You can’t match foundation on your hand. The skin there is a different color than your face. You have to stripe three different shades directly along your jawline. Then, walk outside. Seriously, leave the store or go stand by a big window. Natural daylight is the only way to see the true undertones. I currently use L’Oreal True Match Super-Blendable Foundation. It’s about $11 for a 1 oz bottle at Walmart. It’s a thin, runny liquid that blends beautifully, but only if you buy the right shade. Take the extra five minutes to check it outside.
12. Using Way Less Concealer

We all watched those old makeup tutorials where beauty gurus painted massive triangles of concealer under their eyes. I did it too. It looked terrible in real life. All that heavy product just settles into your fine lines and makes you look ten years older. You need a fraction of that amount. Less is more. I use the NARS Radiant Creamy Concealer. It’s pricey at $32 for a 0.22 oz tube, but one tube lasts me eight months because I use so little. It has a thick, creamy consistency that covers dark circles effortlessly. I place exactly two tiny dots. One dot near the inner corner, and one dot at the outer corner. That’s it. I blend those two dots out with a damp sponge. It brightens the whole area without looking cakey. If you have a blemish, put a micro-dot directly on the spot and let it sit for thirty seconds before blending the edges.

Sorbus Acrylic Makeup Organizer Set
A dependable everyday pick — Sorbus Acrylic Makeup Organizer Set pulls in 315 ratings at 4.5 stars. Not flashy, just solid.
13. Blending Until Your Arm Hurts

Unblended makeup is my biggest pet peeve. I see so many people walking around with harsh contour lines or foundation that stops at their jaw. You have to blend everything until it looks flawless. I use a damp Real Techniques Miracle Complexion Sponge. You can buy a two-pack at Target for $11. You run the orange sponge under the sink until it swells up, then squeeze out all the excess water in a towel. It should feel squishy and barely damp. You bounce it rapidly over your face. Do not drag or smear the sponge. Bouncing presses the product into your skin. I spend a solid two minutes just bouncing the sponge along my jawline and hairline to make sure there are no weird transition lines. It makes my arm ache, but it’s worth it. If you can see where your foundation ends and your bare skin begins, you aren’t done blending yet.
14. The Gross Truth About Dirty Tools

I’m going to be honest with you. Your makeup brushes are probably disgusting. I went three months without washing my foundation brush once. I couldn’t figure out why I was getting painful, cystic acne on my cheeks. Dirty brushes harbor old oil, dead skin cells, and massive amounts of bacteria. You’re just painting that bacteria back onto your face every morning. You have to wash your brushes at least once a week. I buy a giant bottle of Johnson’s Baby Shampoo at Sprouts for $4 (a 13.6 oz bottle). I squirt a little into my palm, wet the brush, and swirl it around until the suds turn brown. Rinse them and lay them flat on a towel to dry. While we’re talking about hygiene, stop sticking your dirty fingers into jars of moisturizer. You’re contaminating the whole jar. Buy a tiny plastic cosmetic spatula on Amazon for $3. Scoop the product out with the spatula. It keeps your creams sanitary and effective.
I know this feels like a lot of steps. You don’t have to change everything overnight. Pick one or two things to fix this week. Start with double cleansing or finally washing those dirty brushes. I promise you’ll notice a massive difference in how your makeup sits. I’ve ruined my skin enough times to know what works. Save this post, pin it to your beauty boards, and refer back to it the next time you’re standing confused in the skincare aisle. Your face will thank you.
Frequently Asked Questions
How much sunscreen should I use in my skincare and makeup routine?
You should use the two-finger rule. Squeeze two lines of SPF down your index and middle fingers, which equals roughly 1/4 to 1/2 teaspoon for your face and neck.
What is the retinol sandwich method?
It’s a technique to prevent irritation. Apply a thin layer of moisturizer, wait two minutes, apply a pea-sized amount of retinol, and top it with another layer of moisturizer.
How often should I wash my makeup brushes?
You need to wash your brushes at least once a week using a gentle cleanser like baby shampoo. Dirty brushes harbor bacteria that can cause cystic acne and ruin your makeup application.
Why should I apply skincare to damp skin?
Applying serums and moisturizers to slightly damp skin helps lock in moisture. Ingredients like hyaluronic acid pull the surface water droplets deep into your skin for better hydration.
