What’s Inside
- 1. Underpaint Your Glow Before Foundation Touches Your Face
- 2. Strip Your Routine Down To Five Intentional Products
- 3. Try No-Bake Baking For Crease-Free Brightness
- 4. Melt Powder Into Skin With Setting Spray On Your Blender
- 5. Build Cloud Skin With Tinted SPF Instead Of Foundation
- 6. Prep Skin Ten Minutes Before Makeup (Not Immediately)
- 7. Blush Block Instead Of Contouring For Lifted Dimension
- 8. Use Tinted Hydrator Instead Of Full-Coverage Foundation
- 9. Follow The 10-3-2-1-0 Sleep Rule For Real Glow
- 10. Layer Repair Sunscreen As Your Final Skincare Step
- 11. Exfoliate Weekly (Not Daily) To Clear Pores Properly
- 12. Quit Harsh Contouring For Feathered, Blurred Finishes
- 13. Boost With Weekly Sheet Masks Before Makeup Days
- 14. Stick With One Active Treatment Long-Term
- 15. Press Products In Instead Of Rubbing Them On
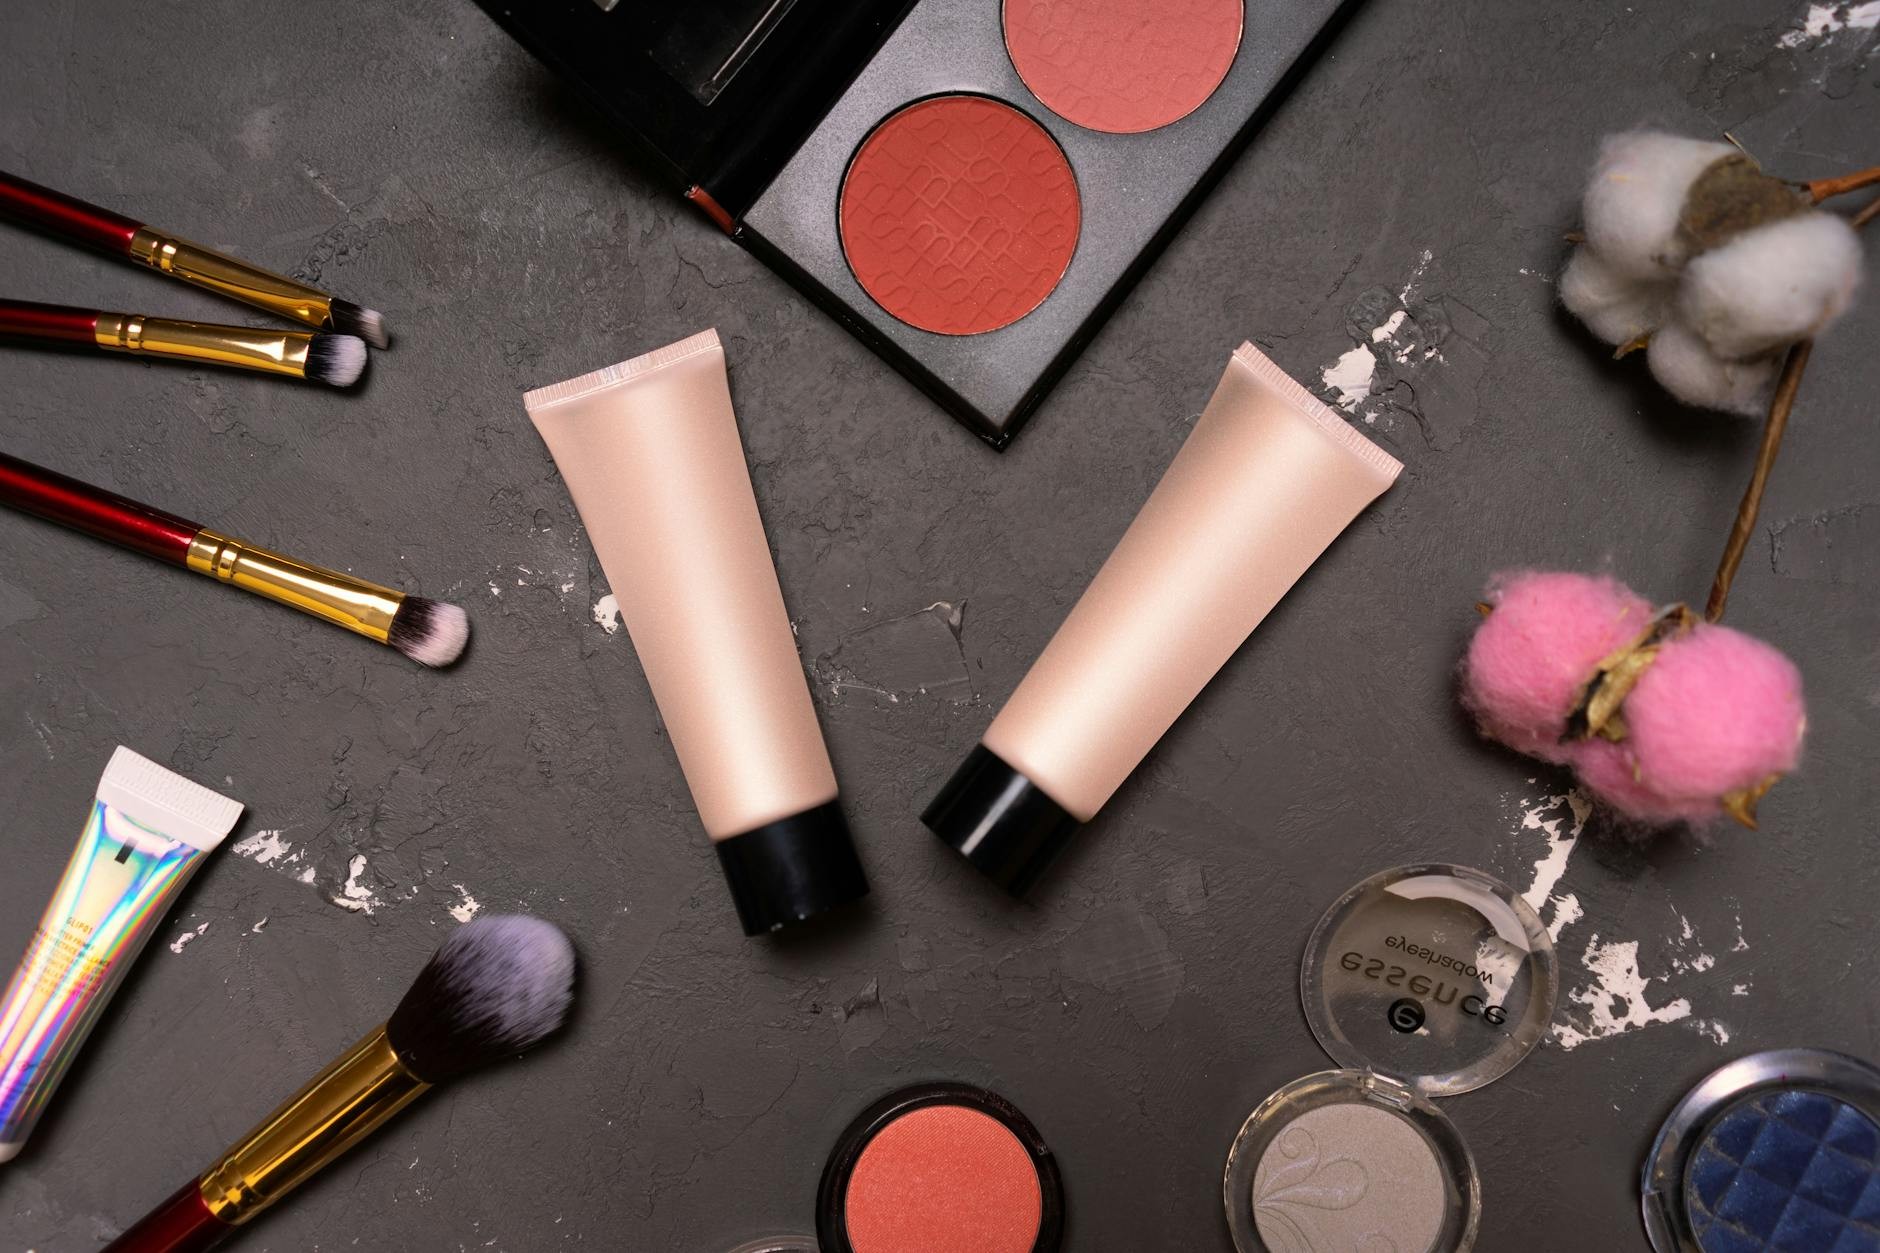
I spent two years caking on foundation before realizing the makeup and skincare aesthetic I wanted started underneath my base, not on top of it. Most tutorials skip the prep that actually makes glow last, and honestly, that’s why so many of us end up with separated, dull makeup by noon.
These 15 tricks completely changed how I approach my routine. Some contradict popular advice (yes, I’m looking at you, full-face baking). Others use products in ways the brands never intended. But they work.
1. Underpaint Your Glow Before Foundation Touches Your Face

This one sounds backwards until you try it. I apply 2-3 pumps of COSRX The 6 Peptide Skin Booster Serum directly under my foundation—before primer, before anything. The peptides create this soft-focus radiance that lasts 12+ hours without a single cake line forming.
Most people layer serum, wait, then pile on base products. That creates separation. When you trap the serum under foundation, it melts everything together into one cohesive layer. I learned this from a backstage makeup artist who swore it was the secret to runway skin that photographs flawlessly under harsh lights.
The trick is using a serum that’s hydrating but not slippery. COSRX works because it absorbs just enough to grip foundation without sliding. I press it into my skin with my palms, wait maybe 30 seconds, then go straight in with base. My makeup used to fade by 2pm. Now I’m touching up maybe once before dinner, and even then it’s just because I want to, not because I need to.
2. Strip Your Routine Down To Five Intentional Products

I had 23 skincare products on my bathroom counter before I read Dr. Anjali Mahto’s advice about intentional minimalism. She warns that overloading disrupts your skin’s pH and blocks absorption, which explains why my skin looked worse the more I added.
Now I stick to five essentials: a cleanser, treatment serum with azelaic acid or peptides (I rotate between those and PDRN), a gentle exfoliant, moisturizer, and daily SPF. That’s it. No essences, no ampoules, no seven-step anything. My skin cleared up within three weeks of simplifying.
The common mistake is thinking more products equal better results. They don’t. Your skin can only absorb so much before it starts rejecting everything. I personally swear by choosing one active treatment serum and sticking with it for at least eight weeks before switching. That consistency transformed my texture more than any $200 cream ever did. If you’re dealing with irritation or products that just sit on your skin, you’re probably overloading.
3. Try No-Bake Baking For Crease-Free Brightness

Traditional baking destroyed my undereyes. All that powder sitting for 10 minutes made my skin look like crepe paper by the time I blended it out. No-bake baking changed everything.
I dust a pea-sized amount of translucent powder only under my eyes, wait exactly 30 seconds, then blend it out with a damp Beauty Blender. That’s the entire technique. The brief set time locks concealer without sucking moisture out of your skin. My undereyes stay bright and smooth for hours without a single crease forming.
The key is using way less powder than you think you need and keeping it localized. I avoid my entire face because that full-bake look ages everyone. This targeted approach gives you the crease-proof benefit without the shriveled texture. I learned this from a celebrity makeup artist’s Instagram story and honestly thought it was too simple to work. But after comparing photos of my makeup at hour eight with both methods, the difference was shocking. No-bake looked fresh. Traditional baking looked like I needed a facial.
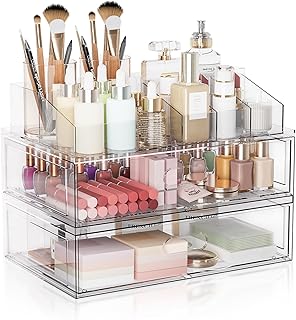
Clear Stackable Makeup Organizer with Drawer
Honestly, Clear Stackable Makeup Organizer with Drawer surprised me — sturdier than it looks in the photos, and over 300 buyers gave it 4.5 stars.
4. Melt Powder Into Skin With Setting Spray On Your Blender

This technique sounds fussy but takes five seconds and completely eliminates that powdery, separated look. After I dust on powder, I spritz Charlotte Tilbury Airbrush Flawless Setting Spray (1-2 spritzes) directly onto my damp Beauty Blender, then bounce it over my face.
Makeup artist Nina Ubhi says this prevents those heavy, separated layers where you can see exactly where powder starts and skin ends. The damp sponge melts everything together into one blurred, seamless finish. I used to just spray setting spray over my finished face and wonder why my makeup still looked cakey. Turns out the spray needs to physically press powder into your base, not just mist over it.
The Charlotte Tilbury formula works best because it’s fine enough to activate powder without making it streaky. I’ve tried this with drugstore sprays and they either don’t have enough grip or they’re too heavy and disturb everything underneath. It’s one of those techniques where the product quality actually matters. My powder used to sit on top of my skin like dust. Now it looks like a filter.
5. Build Cloud Skin With Tinted SPF Instead Of Foundation

The makeup and skincare aesthetic trending in 2026 is cloud skin, and honestly it’s so much easier than glass skin ever was. I use Ciele Tint & Protect SPF 50+ Serum Foundation—just one pump blended with a damp sponge—and it delivers this luminous, non-greasy coverage that bounces light off moisturized skin.
Celebrity MUA Shelby DeRoest notes this look is replacing the wet, almost greasy glass skin vibe because it photographs better and feels more wearable. Cloud skin is soft radiance, not shine. It’s that lit-from-within glow without looking like you dunked your face in oil.
The trick is using a tinted SPF that’s actually skincare-first. Ciele has niacinamide and hyaluronic acid, so it treats while it covers. I apply it after my moisturizer has absorbed for about three minutes, then blend it out in circular motions. Most people get this wrong by piling on too much product trying to get coverage. One pump is genuinely enough for your entire face if you’re starting with good skin prep. I spot-conceal anything that needs extra attention, but the base stays sheer and glowy. It’s the opposite of full-coverage foundation and honestly looks way more expensive.
6. Prep Skin Ten Minutes Before Makeup (Not Immediately)

I used to slap on moisturizer and immediately start applying foundation. Then I’d wonder why everything pilled and separated within an hour. The common mistake is skipping that crucial wait time that lets your skincare actually absorb.
Now I apply a walnut-sized dollop of P.CALM Cato Cream and set a timer for 10 minutes before I touch any makeup. MUA Amanda Benko says this balance of hydration is what prevents peeling foundation. Your skin needs time to drink in moisture without being wet or slippery when base products hit it.
During those 10 minutes, I do my hair or pick out my outfit. When I come back, my skin feels plump but not greasy. Foundation glides on and stays put because it’s gripping hydrated skin, not sliding over a slick surface. The P.CALM cream works particularly well because it’s rich enough to deeply moisturize but absorbs completely instead of sitting on top. I’ve tried this with lighter moisturizers and they don’t provide enough cushion. I’ve tried it with heavier creams and they never fully absorb. This one hits that perfect middle ground where your skin is prepped but not oversaturated.

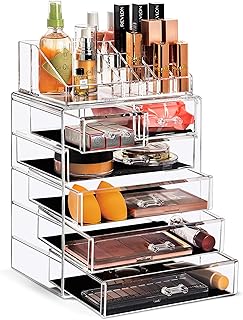
Vtopmart 3 Tier Clear Makeup Organizer with Drawer
If you want something that just works, Vtopmart 3 Tier Clear Makeup Organizer with Drawer is a safe bet (19 reviews, 4.5 stars).
7. Blush Block Instead Of Contouring For Lifted Dimension

Contouring aged my face by at least five years before I discovered blush blocking. Now I tap cream blush in toasted shades directly into my cheekbone hollows instead of using bronzer. It creates this sculpted lift that looks way more natural and fresh.
Shelby DeRoest calls this a rising 2026 trend because it gives dimension without harsh lines. I use my ring finger to press the blush into the hollow under my cheekbone, then blend upward and outward with a damp sponge. The warmth lifts my face without that muddy contour stripe so many tutorials push.
I also dab the same blush onto my lips for that blurred French-girl vibe. Everything matches, everything looks cohesive, and I’m using one product instead of three. The key is choosing a blush that’s more terracotta than pink—something with enough depth to create shadow but enough warmth to look alive. I made the mistake of trying this with a bright pink blush once and looked like I had a fever. Toasted, muted shades are where this technique shines. It’s become my go-to for days when I want definition but don’t want to look made-up.
8. Use Tinted Hydrator Instead Of Full-Coverage Foundation

I quit full-coverage foundation last year and never looked back. Now I use U Beauty The Super Tinted Hydrator—half a pump for sheer evenness—then spot-conceal only the areas that actually need it. The difference in how my skin looks in natural light is honestly shocking.
Heavy foundation separates in daylight. It sits in pores and emphasizes texture. Tinted hydrators even out redness and discoloration while letting your actual skin show through. The U Beauty formula is in that $80+ price range, but it lasts forever because you use so little. One bottle has lasted me four months of daily wear.
The strategic part is knowing what to conceal. I use a full-coverage concealer only on my undereyes, any active breakouts, and the redness around my nose. Everything else gets the sheer tinted layer. This approach looks expensive and effortless in a way that full-face coverage never did. Most people are afraid to show their skin, but honestly, texture looks more obvious when you try to hide it under thick foundation. Embracing sheer coverage with targeted concealing is the move that finally made my makeup look professional instead of heavy.
9. Follow The 10-3-2-1-0 Sleep Rule For Real Glow

No caffeine 10 hours before bed, no food 3 hours before, no work 2 hours before, no screens 1 hour before, zero snoozes in the morning. Beauty writer Katie Withington calls this the 10-3-2-1-0 rule, and it’s genuinely essential for 2026’s glowy makeup and skincare aesthetic.
I was skeptical until I tried it for two weeks. My skin looked brighter, plumper, and way more even. Poor sleep causes dullness that even the best products can’t fix. Your skin repairs itself overnight, but only if you’re actually getting deep, quality sleep.
The hardest part for me was the no-screens hour. I used to scroll in bed until I passed out. Now I read or journal, and I fall asleep faster and wake up looking less puffy. My undereye circles lightened without changing a single product. Pros often overlook this because it’s not sexy or sellable, but sleep quality impacts your skin more than most serums ever will. I still use my regular skincare, but now it actually has good skin to work with instead of trying to revive exhausted, dull skin every morning. If your routine isn’t working, look at your sleep before you buy another product.
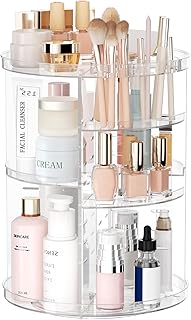
Rotating Makeup Organizer
Rotating Makeup Organizer punches above its price — 47 buyers rated it 4.5 stars. I would buy it again.
10. Layer Repair Sunscreen As Your Final Skincare Step

Most SPFs dry out your skin and make makeup look shriveled by noon. I use 111SKIN Repair Sunscreen as my final skincare step every single day—about a dime-sized amount—and it actually maintains moisture instead of sucking it out.
Nina Ubhi reports this prevents that tight, uncomfortable feeling traditional sunscreens leave behind. The 111SKIN formula has hyaluronic acid and peptides, so it’s treating your skin while protecting it. I apply it after my moisturizer has absorbed, press it in with my palms, then wait about five minutes before makeup.
This is a pro tip for maintaining cloud skin because dried-out skin can’t hold that luminous finish. Your base will separate and look cakey if your SPF has stripped all the moisture out. The 111SKIN sunscreen is pricey, but I’ve tried cheaper alternatives and they all pill under makeup or leave a white cast. This one disappears completely and actually improves how my makeup applies. I used to think SPF was just a necessary evil that made my routine worse. Finding one that actually enhances my skin prep changed everything about how my makeup wears throughout the day.
11. Exfoliate Weekly (Not Daily) To Clear Pores Properly

I damaged my skin barrier by exfoliating every single day. Ulta experts note that daily overuse clogs young or sensitive skin instead of clearing it. Now I exfoliate once or twice a week with a gentle scrub—about a rice-grain sized amount—and my skin is clearer than it’s ever been.
The frequent beginner error is thinking more exfoliation equals clearer pores. It doesn’t. Over-exfoliating strips your skin’s protective barrier, which triggers oil overproduction and makes breakouts worse. I use a physical scrub with fine granules, not those harsh apricot scrubs that create micro-tears.
I exfoliate right after cleansing, using gentle circular motions for maybe 30 seconds, then rinse thoroughly with lukewarm water. My skin feels smooth but not raw or tight. The rest of the week, I just cleanse normally. This weekly approach cleared my congested pores without the irritation and peeling I dealt with when I exfoliated daily. If your skin is red, flaky, or breaking out more after you started exfoliating regularly, you’re overdoing it. Pull back to once a week and let your skin recover. The results will actually be better with less frequency.
12. Quit Harsh Contouring For Feathered, Blurred Finishes

Heavy contouring is out for 2026. The maximalist yet blurred look trending now uses cream products blended with a fluffy brush in soft arcs for diffused dimension. No harsh lines, no obvious stripes, just soft shadow that suggests structure without screaming “contour.”
I use a cream bronzer that’s only one or two shades deeper than my skin tone and blend it in sweeping motions from my hairline toward my cheekbone. The fluffy brush is crucial—dense brushes create lines, fluffy brushes create diffusion. I go over everything multiple times with a clean blending brush until I can’t see where the contour starts or ends.
This technique works because it mimics natural shadow instead of drawing fake ones. Harsh contour lines age your face by creating hard edges where your face naturally has soft transitions. I made this mistake for years, following tutorials that had me carving out my cheekbones with dark stripes. In photos, I looked muddy and overdone. Now my face looks lifted and dimensional without looking made-up. The key is building slowly and blending obsessively. You can always add more, but harsh lines are hard to fix once they’re there.

Masirs Clear Makeup Organizer
Honestly, Masirs Clear Makeup Organizer – 16-Compartment Cosmetic and Jewelry Ho surprised me — sturdier than it looks in the photos, and over 258 buyers gave it 4.5 stars.
13. Boost With Weekly Sheet Masks Before Makeup Days

I use a hydrating sheet mask with peptides for 15 minutes once a week, and it preps my skin better than piling on extra serums. This is surprising pro advice that actually works—the occlusive barrier of the sheet forces hydration deep into your skin without leaving that greasy layer that makes makeup slide off.
I do this the night before any important event or photoshoot. My skin looks plump and smooth the next morning, and my makeup adheres way better than it does on regular days. The extra moisture creates the perfect canvas without the slippery texture that comes from layering too many serums right before makeup.
The trick is using it for extra hydration, not as a replacement for your regular routine. I cleanse, apply the sheet mask, then follow with my normal moisturizer after I remove it. My skin drinks in the essence without getting oversaturated. I’ve tried doing this the morning of events, but it makes my skin too dewy for makeup to grip properly. Overnight, that hydration settles into your skin perfectly. If you’re prepping for something where your makeup needs to look flawless, add a weekly sheet mask the night before. It’s the one extra step that’s actually worth it.
14. Stick With One Active Treatment Long-Term

Consistency beats intensity every single time. I use retinoid treatments nightly—starting with a pinhead dot and building to a pea-size amount over four weeks—instead of jumping between trendy actives. Dr. Anjali Mahto and Lisa Eldridge both affirm this approach transforms your complexion long-term.
The mistake is switching products every time something new launches. Your skin needs at least eight weeks with an active ingredient to show real results. I spent years hopping between retinoids, vitamin C, niacinamide, and whatever else TikTok was hyping. My skin never improved because I never gave anything time to work.
Now I stick with tretinoin. I apply it to clean, dry skin, wait 20 minutes, then layer my moisturizer. I started slow to avoid irritation—just twice a week for the first month, then gradually increased. My skin purged for about six weeks, which was rough, but I pushed through. At month three, my texture was noticeably smoother. At month six, my hyperpigmentation had faded significantly. This same principle applies to benzoyl peroxide for acne or any other active treatment. Pick one, commit to it, and give it time. The results from consistency will always beat the results from constantly switching to the newest thing.
15. Press Products In Instead Of Rubbing Them On

I used to rub everything into my skin—serums, moisturizers, sunscreen, all of it. Then I learned that pressing products in with your palms actually helps them absorb better and prevents tugging that causes premature wrinkles.
Now I dispense product into my palm, warm it between my hands, then press it into my skin using gentle patting motions. I start at my cheeks and work outward, pressing each area three or four times. This technique feels more intentional and honestly makes my routine feel more luxurious, even though I’m using the same products.
The difference is subtle but real. My products seem to sink in faster, and my skin looks plumper when I’m done. Rubbing creates friction that can irritate sensitive skin and doesn’t actually improve absorption. Pressing mimics professional facial massage techniques that encourage product penetration without the damage. I use this method for everything except cleansers and exfoliants. It’s become such a habit that rubbing products on now feels wrong. If your products are sitting on top of your skin instead of absorbing, try pressing instead of rubbing. The change in how your skin feels is immediate.
These 15 tricks took me years to figure out, and honestly, some of them go against everything I learned from mainstream tutorials. But they work. My skin looks better, my makeup lasts longer, and I’m using fewer products overall. Start with one or two techniques that address your biggest frustrations, give them a few weeks to show results, and build from there. Save this for when you’re ready to completely change your approach—you’ll want to reference these specifics later.
Sorbus Acrylic Makeup Organizer Set
If you want something that just works, Sorbus Acrylic Makeup Organizer Set is a safe bet (315 reviews, 4.5 stars).
Frequently Asked Questions
What is the makeup and skincare aesthetic trend for 2026?
Cloud skin is dominating 2026—it’s luminous, non-greasy coverage that bounces light off moisturized skin. Think soft radiance over the wet glass skin look, achieved by layering lightweight tinted hydrators with strategic cream products for a blurred, diffused finish.
How many skincare products do I actually need?
Dermatologists recommend just five essentials: cleanser, treatment serum with azelaic acid or peptides, exfoliant, moisturizer, and daily SPF. Overloading disrupts your skin’s pH and absorption, causing irritation instead of improvement. Consistency beats product hoarding.
What’s the difference between baking and no-bake baking?
Traditional baking leaves powder on skin for 10+ minutes, which dries and shrivels. No-bake baking dusts translucent powder only under eyes for 30 seconds, then blends out with a damp sponge for crease-free brightness without the cakey texture.
Should I apply serum before or after foundation?
Try underpainting—apply 2-3 pumps of peptide serum directly under foundation before any base products. This locks in radiance for 12+ hours without caking, creating a soft glow that lasts through your entire day without touch-ups.