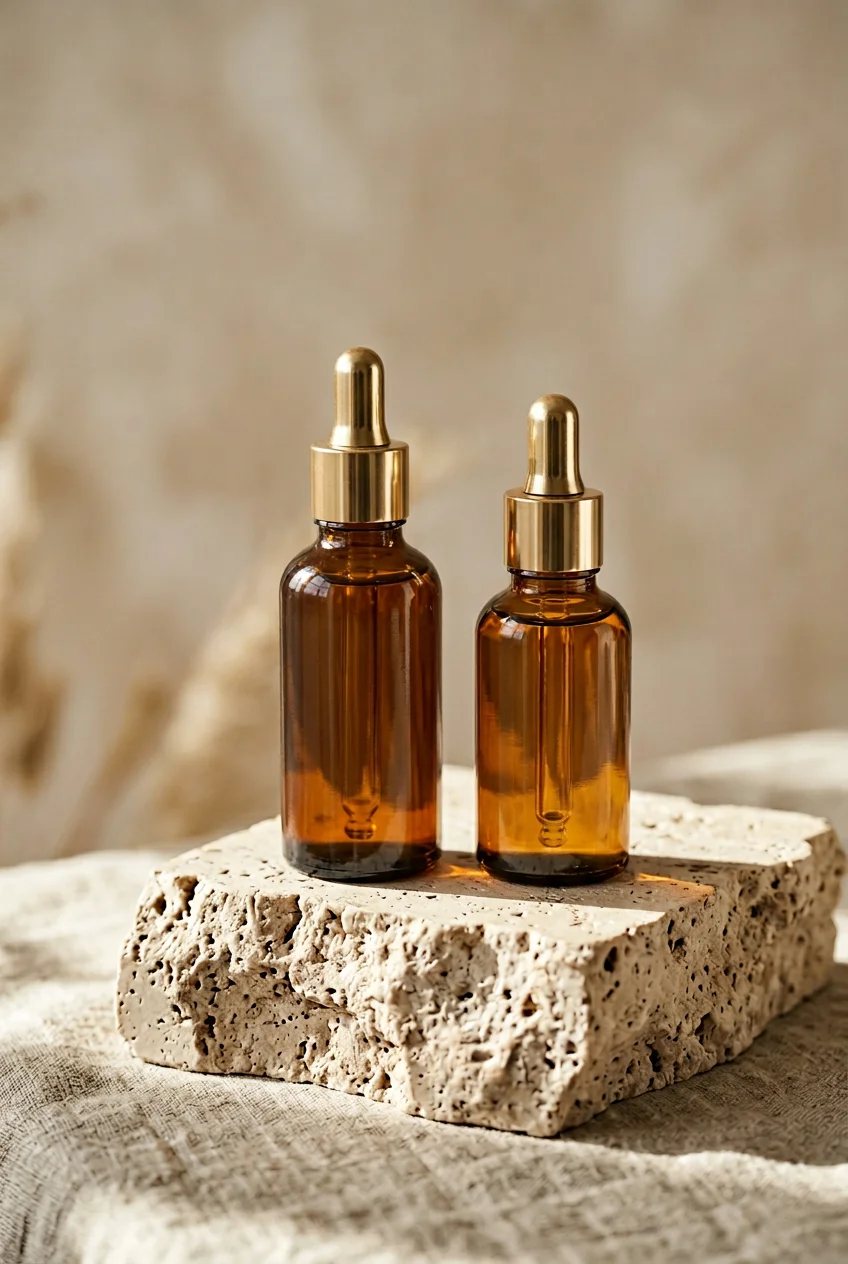
What’s Inside
- Master Diffused Natural Light for a Skincare Product Shoot
- Invest in Continuous LED Lighting for Consistency
- Utilize a Two-Light Setup with Reflectors
- Employ Macro Photography to Showcase Textures
- Create Dynamic Water Splashes for a Hydrating Effect
- Master the Art of Perfect Product Smears
- Highlight Key Ingredients as Natural Props
- Embrace Minimalist Backgrounds for Focus
- Use Acrylic Risers to Add Visual Depth
- Prioritize Impeccable Product Cleanliness
- Experiment with Angles to Tell a Specific Story
- Employ Rim Lighting for a Luxurious Glow
My first skincare shoot was a total train wreck. I’m talking melted creams, sticky messes, and harsh black shadows that made expensive serums look like cheap dollar-store junk. Last Tuesday at Target, I saw a girl trying to snap a photo of some body lotion in the harsh fluorescent aisle lighting, and I physically recoiled. I’ve been there. You’re probably trying to figure out how to make your favorite toner look as juicy and fresh on camera as it feels on your skin. It isn’t just about pointing an iPhone at a jar. I’ve wasted perfectly good batches of pricey face oils trying to nail those reflections. I did this the wrong way for months before figuring it out. Let’s fix that right now. Here’s exactly how I get that clean, hydrated aesthetic without losing my mind. Trust me.
1. Master Diffused Natural Light for a Skincare Product Shoot

I used to think direct sunlight was the secret to an airy, bright look. I was dead wrong. Midday sun creates aggressive, ugly black shadows that kill the vibe of a fresh face routine. Instead, you need diffused natural light. Set up near a big north-facing window. The light there stays consistent and soft. It’s perfect for that clean, hydrated feeling we all want. If your window gets blasted with sun, don’t panic. Grab a sheer white curtain. I use the Room Essentials sheer panel from Target. It costs $5.99 for an 84-inch length. Tape it right over the glass. It acts like a giant softbox. The harsh light filters through the fabric and creates a milky, glowing wash over your bottles. I learned that the hard way last summer. I tried shooting a delicate glass bottle of facial oil on my back patio. The sun baked the oil, and the glass glared so badly you couldn’t even read the label. Now, I stick to diffused indoor light. It wraps around the product beautifully. You’ll notice the difference immediately. Textures look softer. Reflections aren’t blinding. It’s the cheapest trick I know for a professional look.
2. Invest in Continuous LED Lighting for Consistency

Natural light is great until a dark cloud rolls over and ruins your exposure mid-shoot. That’s why I finally quit the sun and bought real studio lights. If you’re serious, skip the cheap ring lights. They leave weird, distracting circular reflections on glossy packaging. I swear by continuous LED lights. I use the Godox FV150. It runs about $349.00 for the body alone. It’s heavy, and the cooling fan has a low hum, but the control is unreal. You can dial in the exact brightness and color temperature. I set mine to 5500K to mimic daylight. Before this, I bought a flimsy $40.00 umbrella kit from Costco. The bulbs buzzed, and the light had a nasty green tint that made my pink clay masks look like swamp mud. Don’t do that. Save up for a good LED. You’ll need a heavy-duty light stand too, which adds another $40.00. But being able to shoot at midnight in your pajamas and have it look like a sunny Sunday morning is incredible. You won’t regret the investment once you see the crisp, clean edges it gives your bottles.
3. Utilize a Two-Light Setup with Reflectors

Lighting a cylindrical bottle is a headache. If you just blast it from the front, it looks flat and boring. You need dimension. The easiest way to get it is a two-light setup paired with a cheap reflector. I place my main softbox at a 45-degree angle to the left. This creates a nice highlight, but it leaves the right side in deep, muddy shadow. To fix this, I don’t use another expensive light. I use a piece of white foam board. I buy Elmers 20×30 inch boards from Walmart for $3.99. I prop it up on the right, opposite the light. The white matte surface catches the glow and bounces it back into the shadows. It fills them in softly without killing the main highlight. For group shots, I’ll use two softboxes at 45-degree angles, plus the foam board sitting right in front of the lens. I tried using crumpled aluminum foil once to save a few bucks. Huge mistake. The foil created harsh, jagged reflections that made my smooth glass bottles look dented. Stick to the matte white foam board. It’s foolproof. You might also like: 15 Beautiful Aesthetic Vision Board Skincare to Inspire Your Next Project

COSRX Vitamin E Vitalizing Sunscreen,SPF 50 Face Sunscreen
A dependable everyday pick — COSRX Vitamin E Vitalizing Sunscreen pulls in 42 ratings at 4.5 stars. Not flashy, just solid.
4. Employ Macro Photography to Showcase Textures

People want to know what a product feels like before they buy it. Is it gritty? Slimy? Fluffy? You can’t show that with a standard lens. You need a macro lens. I shoot with a Sony, so I invested in the Sony FE 90mm f/2.8 Macro G OSS lens. It’s a massive $898.00 splurge, but it changed my photography style. A macro lens lets you get inches away from the product. I love using it for thick body scrubs. Last month, I bought a jar of Tree Hut Shea Sugar Scrub from Sprouts for $8.99. I scooped 2 tablespoons onto a slate board. With the macro lens, you could see every single grain of brown sugar. You could see the thick, syrupy base holding it all together. It looked good enough to eat. A common mistake beginners make is using their phone’s digital zoom. It just makes the image grainy and pixelated. If you don’t have a macro lens, look into clip-on attachments for your phone, but nothing beats real glass. It builds trust when a buyer can visually feel the texture of a night cream. You might also like: 20 Creative Aesthetic Korean Skincare Worth Trying This Year
5. Create Dynamic Water Splashes for a Hydrating Effect

Water is huge in beauty marketing right now. Everyone wants their serums to look like they just emerged from a mountain spring. But working with actual tap water is a nightmare. It evaporates in seconds and runs off the packaging, ruining your labels. Here is my secret. I don’t use real water. I use thick liquid glycerin. You can buy a 4 oz bottle of NOW Solutions Vegetable Glycerin at Kroger for $4.99. I mix 2 tablespoons of glycerin with 2 tablespoons of water in a spray bottle. The glycerin makes the water thick and sticky. When you spray it on a bottle, the droplets bead up perfectly and stay put for hours. They won’t run. For dramatic splashes, I use a high shutter speed, around 1/2000s, to freeze the motion. I tried this recently with a bottle of Ecophoria Vitamin C Brightening Gel. The 1.7 oz pump costs $24.00. I dropped a heavy acrylic cube into a tray of water right next to the gel. The splash froze in mid-air, creating a perfect crown shape. It took fifty tries, and my kitchen floor was soaked, but the shot was stunning. No exaggeration. You might also like: 15 Stunning Aesthetic Natural Skincare You Haven’t Thought Of
6. Master the Art of Perfect Product Smears

Getting a perfect smear of lotion looks effortless on Instagram. In reality, it’s frustrating and messy. You can’t just swipe your finger through a blob and expect it to look artistic. You need tools. I use stainless steel palette knives from the art aisle. A set of five costs about $12.99 at Michaels. I also use a ton of product. This is where most people fail. They try to save their expensive creams. You have to sacrifice the product for the shot. I recently shot the CeraVe Daily Moisturizing Lotion, which is $14.99 for the 12 oz pump. I pumped out at least 4 ounces onto a glass plate. You have to work fast. The second the cream hits the air, it starts to crust over. The edges get hard and lose that glossy look. I spent three hours last Friday just trying to get one perfect swoosh. I kept wiping it away and starting over. My hands were so greasy I could barely hold my camera. The trick is to apply firm pressure at the start and slowly lift the knife as you drag it. It creates a thick, creamy texture with a delicate, feathered tail.

EQQUALBERRY Vitamin Illuminating Serum | Niacinamide 4% +
EQQUALBERRY Vitamin Illuminating Serum | Niacinamide 4% + Brightening punches above its price — 108 buyers rated it 4.5 stars. I would buy it again.
7. Highlight Key Ingredients as Natural Props

Consumers are obsessed with ingredients. If your serum has vitamin C, you need fresh oranges. If it has rose water, you need petals. But you can’t just throw a whole, unpeeled piece of fruit in the background. It has to look intentional. I love integrating fresh ingredients into the shots. Last week, I was shooting the Function of Beauty custom facial serum. It costs $29.99 for a 1 oz bottle. It had a bright citrus profile. I drove to Trader Joe’s and bought a bag of navel oranges. I sliced them thin with my sharpest knife. I used 1/2 cup of sliced oranges and arranged them on a white marble board. The bright orange contrasted perfectly with the frosted glass dropper. Sensory details matter. The sticky orange juice got everywhere, and the room smelled like a citrus grove. A big mistake I used to make was using old, sad-looking produce. I once tried to use a bruised lemon from my fridge. It looked terrible. The brown spots were obvious under the lights. Only use the freshest ingredients you can find. It visually communicates the benefits of the formulation.
8. Embrace Minimalist Backgrounds for Focus

It’s tempting to build elaborate sets with fake plants, fairy lights, and scattered pearls. Don’t. A cluttered background distracts from the product. You want the bottle to be the star. I strictly use minimalist backgrounds now. My go-to is seamless paper. I buy Savage Widetone Seamless Background Paper. A 53-inch wide roll costs $29.00 online. I love ‘Super White’ and ‘Baby Blue’. The paper creates an infinite, smooth curve behind the product, so there are no distracting horizon lines. For a luxurious feel, I use natural stone. I bought a 12×12 inch polished travertine tile from Home Depot for $12.00. The smooth, cold stone adds texture without pulling focus away from the label. I used to shoot on my wooden dining table. The grain was so busy and yellow that it distorted the product colors. I spent hours in editing fixing the white balance. A clean, neutral background saves you so much time. It makes the packaging pop and keeps the aesthetic feeling fresh and high-end.
9. Use Acrylic Risers to Add Visual Depth

If you line up three bottles on a flat table, the photo looks like a police lineup. You need varying heights to create depth. This is vital for top-down flat lays. I use clear acrylic risers to fix this. I bought a set of three square risers. They are 4×4, 6×6, and 8×8 inches. I found them on Etsy for $24.99. They are entirely transparent, so they don’t add clashing colors. They create a cool, floating effect. I’ll put a tall toner bottle on the table, a short jar on the lowest riser, and a medium pump on the middle riser. It guides the viewer’s eye through the composition. The sharp, polished edges of the acrylic catch the light beautifully. Be careful, though. They scratch easily. I ruined my first set by sliding a ceramic jar across the top. Now, I handle them with soft cotton gloves. Using risers makes products appear more significant and premium.

Vtopmart 3 Tier Clear Makeup Organizer with Drawer
A dependable everyday pick — Vtopmart 3 Tier Clear Makeup Organizer with Drawer pulls in 2 ratings at 4.5 stars. Not flashy, just solid.
10. Prioritize Impeccable Product Cleanliness

This is the most tedious part of a shoot, but it’s non-negotiable. Before you press the shutter, you have to clean the packaging. I mean obsessively clean it. High-resolution sensors capture everything. A tiny speck of lint or a thumbprint looks massive on a screen. I keep a stash of microfiber cloths in my desk. I buy the Kirkland Signature 36-pack from Costco for $17.99. I use them dry to polish every glass bottle, cap, and metallic pump. If there’s stubborn adhesive from a price tag, I use 1 teaspoon of rubbing alcohol on a cotton swab. I learned this lesson the hard way. Early in my career, I shot a gorgeous campaign for an indie brand. I didn’t bother wiping down their glossy black lids. When I opened the raw files, they were covered in smudges and white dust. It took me four hours to clone-stamp out the dirt in Photoshop. Now, I wipe the product down right before placing it on the set, and I don’t touch it with my bare hands again.
11. Experiment with Angles to Tell a Specific Story

The angle of your camera changes the whole vibe. You can’t shoot everything straight on and expect it to look interesting. Eye-level shots are great for basic e-commerce listings because they show the label clearly. But for social media, you need to get creative. Flat lays are perfect for showing off a complete routine. I love arranging a foaming cleanser, a toner, and a moisturizer on a pastel background. It looks organized and satisfying. But my favorite angle is the low angle. Shooting slightly upward makes a product look heroic and premium. I recently shot a tiny 1 fl oz dropper bottle of rosehip oil I bought at Whole Foods for $16.99. I placed my camera level with the table and angled the lens up. It made the small bottle look towering and luxurious. Most people stand over their table and point their camera down at a weird 45-degree angle. It distorts the shape of the bottle and makes it look amateur. Get down on the floor. Move around. Find the angle that makes the packaging look its best.
12. Employ Rim Lighting for a Luxurious Glow

If you’re shooting a solid white bottle on a white background, it’s going to disappear. You need separation. The secret is rim lighting. This is a technique where you place a small light source behind the product, pointing back toward the camera. It creates a bright, glowing outline around the edges of the bottle. It gives the product a 3D quality and makes it pop off the background. I usually use a small, cheap LED panel for this. I have a tiny Neewer LED light that cost $29.99 on Amazon. I hide it behind the product so the camera can’t see the light itself, just the glow. I used this trick last week on a frosted glass bottle of night serum. The rim light caught the edges of the frosted glass and made it look like it was magically glowing from the inside. It’s a surprising, effective technique. It’s great for highlighting shiny foil text on labels. Just don’t make the backlight too bright, or it will wash out the edges and create a hazy lens flare.
Honestly, shooting skincare is half art and half science. It takes massive patience to get the reflections right and the textures looking juicy. I still make mistakes, but following these steps has saved me hours of frustration. I highly recommend grabbing some cheap foam board and practicing with a plastic water bottle before you tear into your expensive luxury creams. If you found this breakdown helpful, save this page or pin it to your photography mood board for your next shoot. Your routine deserves to look as good on camera as it feels in real life.
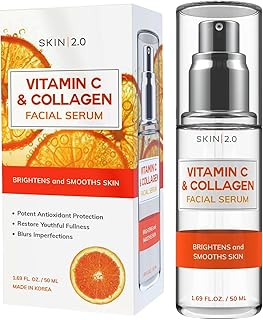
Skin 2.0 Vitamin C Serum – Dermatologist Tested
Honestly, Skin 2.0 Vitamin C Serum – Dermatologist Tested surprised me — sturdier than it looks in the photos, and over 45 buyers gave it 4.5 stars.
Frequently Asked Questions
What is the best lighting for a skincare product shoot?
Diffused natural light from a north-facing window is excellent for a soft, fresh look. For consistent, professional results, I highly recommend using continuous LED lights, like the Godox FV150, balanced to 5500K daylight.
How do you make water droplets stay on skincare bottles?
Skip plain water because it evaporates and runs too fast. Mix equal parts liquid vegetable glycerin and water in a spray bottle. The glycerin creates thick, sticky droplets that stay perfectly in place for hours.
What lens is best for capturing skincare textures?
A dedicated macro lens is absolute magic for skincare photography. It allows you to get inches away from the product to show the gritty texture of scrubs or the creamy finish of a thick moisturizer.
How do you avoid reflections on glossy skincare packaging?
Avoid direct, harsh lighting and cheap ring lights. Use softboxes to diffuse your main light, and use matte white foam boards to bounce light into the shadows without creating harsh, jagged reflections on the plastic.
