What’s Inside
- Natural Skincare Photography Basics: Mastering Window Light
- Building a Diffusion System on a Budget
- Selecting Seamless Paper Backdrops
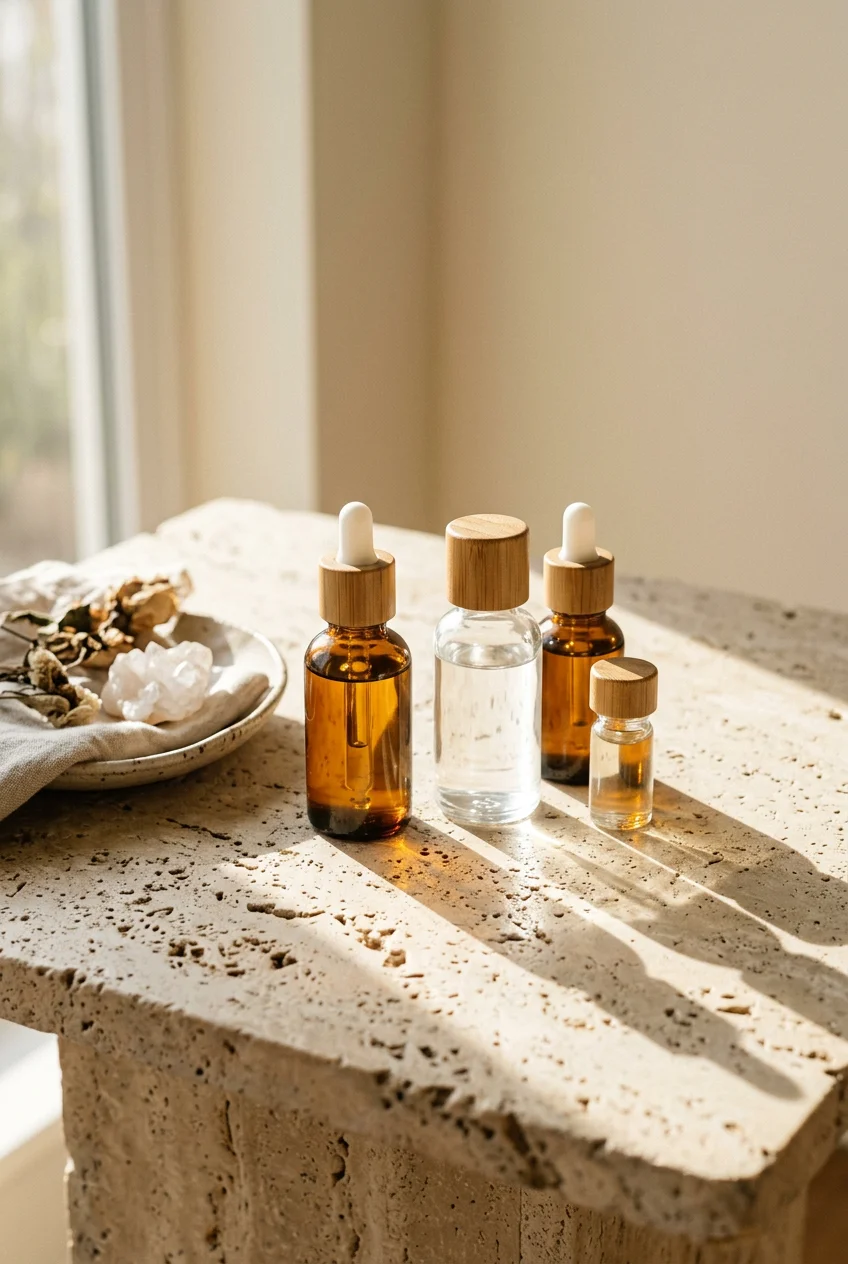
- Incorporating Matte Stone Textures in Natural Skincare Photography
- Macro Lenses for Capturing Viscosity
- Controlling Reflections on Amber Glass
- Simulating Condensation with Glycerin
- Scaling Props to Product Dimensions
- Standardizing Color Correction Protocols
- Executing Accurate Swatch Documentation
- Managing Shadows with Negative Fill
- Dermatologist Recommended Lighting Angles
Last Tuesday at my kitchen table, I spent three hours trying to photograph a 2 oz bottle of Mad Hippie Vitamin C serum. My first attempts at skincare photography looked like a crime scene. Harsh noon sun hitting the amber glass cast a jagged, yellow reflection across my white table, making the $33.99 serum look like cheap cooking oil. I’m a researcher, not a pro photographer, but I learned that the hard way—capturing the actual viscosity and color of a formula requires methodical lighting control, not just pointing a phone. I’ve spent six months testing different lighting, backgrounds, and lens attachments. I’ve thrown away dozens of ruined paper rolls and deleted thousands of blurry macro shots. Turns out, you don’t need a massive budget to document formulas accurately. You just need a strict methodology. Let’s review how I set up my workspace to capture clinical, accurate images of skincare products without relying on heavy filters or expensive gear.
1. Natural Skincare Photography Basics: Mastering Window Light

I tried shooting a 4 oz jar of CeraVe Healing Ointment ($19.49 at Target) in direct sunlight on my driveway back in March. The plastic jar melted slightly, and the photo was completely blown out. You can’t just put products in the sun and hope for the best. The foundation here is soft, directional window light. Position your setup roughly 24 inches from a north-facing window. The light needs to hit the product from a 90-degree angle relative to your camera. This side lighting creates a gradient of light and shadow across the curved surface, showing it has real volume. I shoot between 7:00 AM and 8:30 AM. That morning window provides a cooler color temperature that makes white cream look clinical and clean. If you shoot at noon, the light bounces off the floor and creates muddy under-shadows. I learned this when evaluating a 1 oz bottle of The Ordinary Niacinamide ($6.00 at Ulta). The midday light made the clear liquid look murky. Stick to early morning light to keep the texture visible.
2. Building a Diffusion System on a Budget

Direct window light is usually too harsh for glass. A 1 oz glass dropper bottle will reflect the exact shape of your window frame, screen mesh included. I fix this with a cheap diffusion system. Skip the expensive umbrellas. Go to Michaels and buy a 20×30 inch sheet of translucent corrugated plastic poster board for $3.99. Prop this board between your window and the product. It scatters the light, creating a soft, even gradient on the glass. Then, manage the shadow side. The side facing away from the window will be too dark. I use a standard 20×30 inch white foam board ($4.29 at Target) placed opposite the window. This bounces light back into the shadows. I tried using a silver car windshield reflector once. It cast a weird metallic glare on a 1.7 oz jar of Neutrogena Hydro Boost Water Gel ($19.99 at Walmart), making the blue gel look grey. Stick to matte white foam board. It provides a predictable fill light that won’t shift the color of the formulation.
3. Selecting Seamless Paper Backdrops

You need a background that doesn’t distract from the ingredient label. Fabric wrinkles and wood grain pull focus. I strictly use seamless paper for clinical product documentation. Savage Widetone and Kate Paper are the standard brands. I buy the 26-inch wide rolls because they fit on a standard kitchen table. A roll costs exactly $29.99 on Amazon. If you buy the massive 107-inch by 36-foot rolls, you’re spending over $100 and need a dedicated studio. For colors, I stick to “Super White,” “Bone,” and “Thunder Gray.” “Bone” is great when photographing products with titanium dioxide, like the 1.7 oz EltaMD UV Clear Sunscreen ($43.00 at Dermstore). If you shoot a white bottle on “Super White” paper, the edges disappear. The slightly off-white “Bone” color provides just enough contrast. I once ruined a shoot by using cheap, textured poster board from a dollar store. The macro lens picked up every paper fiber, making the photo look messy. Seamless paper is perfectly smooth. Unroll two feet, tape it, and shoot.

6Pcs Jade Roller for Face
A dependable everyday pick — 6Pcs Jade Roller for Face pulls in 28 ratings at 4.5 stars. Not flashy, just solid.
4. Incorporating Matte Stone Textures in Natural Skincare Photography

While paper is great for clinical shots, skincare photography often needs organic textures to show off plant-based ingredients. The current standard for 2026 is matte stone. Glossy marble reflects your lens, ruining the shot. I use unpolished travertine tiles. I bought a 12×12 inch piece of raw travertine for $5.98 at a hardware store. The porous, beige surface contrasts perfectly with sleek glass. I pair this with a half-yard of raw, unbleached linen fabric ($8.99 per yard at a craft shop). When I photographed a 2 oz jar of Herbivore Lapis Blue Tansy Face Oil ($74.00 at Sephora), the matte beige stone made the deep blue oil pop better than white paper. The mistake most people make is using fake vinyl backdrops. I bought a $15 vinyl backdrop on Amazon last year. Under macro lighting, the printed pixels were clearly visible, contradicting the natural aesthetic of the 1 oz Biossance Squalane Oil ($34.00 at Sephora). Real stone and real fabric absorb light correctly. I also keep a 24-inch acacia wood board ($22.99 at Costco) as a warm-toned base.
5. Macro Lenses for Capturing Viscosity

You can’t document a physical exfoliant or a thick ceramide cream from two feet away. You need a macro lens to show the actual particle size and emulsion texture. I use a 100mm f/2.8 macro lens. If you’re using a phone, you need a clip-on macro attachment like the Moment Macro 10x Lens ($119.99). I spent months trying to digitally zoom in on photos of a 5 oz tube of Paula’s Choice 2% BHA Liquid Exfoliant ($35.00 at Nordstrom). The images were blurry pixels that told me nothing about viscosity. A true macro lens lets you get three inches away. I use this to photograph swatches on a glass plate. I’ll dispense exactly 1/4 teaspoon of the 1.7 oz Tatcha The Dewy Skin Cream ($72.00 at Sephora) onto a clear acrylic block. The lens captures the microscopic air bubbles and the exact way it peaks. This data proves whether a cream is a water-in-oil or oil-in-water emulsion. Be warned: a macro lens has a razor-thin focal plane. If your camera moves a millimeter, the shot is out of focus. I use a heavy tripod to prevent shake.
6. Controlling Reflections on Amber Glass

Amber glass dropper bottles are standard for antioxidant serums because they block UV light. They’re also a nightmare to photograph. They act like curved mirrors. When I first tried to document a 1 oz bottle of SkinCeuticals CE Ferulic ($182.00 at a local medspa), you could see a distorted reflection of my face and my messy living room. To fix this, control the environment around the bottle. I build a light tent using three pieces of the $4.29 Target foam board. I place one on the left, right, and behind the camera, with a small slit cut out for the lens. This way, the bottle only reflects smooth white surfaces. I also wear a black long-sleeve shirt when shooting highly reflective packaging. Last November, I wore a bright red sweater while photographing a 1 oz bottle of Sunday Riley Good Genes ($85.00 at Ulta). The bottle picked up a faint pink cast, which made the lactic acid serum look discolored. Map out exactly what the curved glass is seeing and block out anything that isn’t a neutral board.
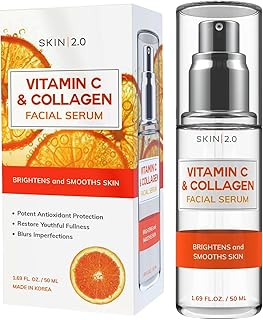
Skin 2.0 Vitamin C Serum – Dermatologist Tested
Skin 2.0 Vitamin C Serum – Dermatologist Tested has been one of the most consistently praised picks in this category. 45 reviewers averaged 4.5/5.
7. Simulating Condensation with Glycerin

Sometimes you need to show that a product is hydrating, like a hyaluronic acid mist. Spraying water on a bottle doesn’t work. I tried spraying tap water on a 4 oz bottle of Tower 28 SOS Daily Rescue Facial Spray ($28.00 at Sephora). The water pooled at the bottom and soaked into the paper, ruining the roll. Instead, I use a 50/50 mixture of vegetable glycerin and distilled water. I buy a 4 oz bottle of Heritage Store Vegetable Glycerin for $6.39 at Whole Foods. I mix 2 tablespoons of glycerin with 2 tablespoons of water in a small spray bottle. The glycerin increases the surface tension. When you spray this onto a glass bottle, it forms perfect, spherical droplets that stay in place for hours without evaporating. I use this when documenting the 5 oz La Roche-Posay Thermal Spring Water ($13.99 at Kroger). It gives the packaging a chilled, refreshing look. Just wipe the nozzle dry afterward, as glycerin is sticky and attracts dust.
8. Scaling Props to Product Dimensions

A common error is using props that distort the scale of the item. If you place a 0.5 oz jar of eye cream next to a massive, blooming peony, the cream looks like a tiny travel sample. I learned this when photographing the 0.5 oz Kiehl’s Creamy Eye Treatment with Avocado ($38.00 at Nordstrom). I placed a whole, uncut avocado next to it. The fruit dominated the frame, and the eye cream looked insignificant. You have to measure your props. I now use a digital caliper to check sizes. For that same eye cream, I switched to a 1/4 inch cube of diced avocado. If I’m photographing a 1 oz serum bottle, which is about 4 inches tall, I ensure no prop exceeds 2 inches in height. A 2-inch sprig from a $3.99 bundle of eucalyptus from Trader Joe’s provides an organic element without dwarfing a 1 oz bottle of Cocokind Ceramide Barrier Serum ($21.99 at Target). If your props aren’t scaled correctly, you’re shooting a still life of plants, not a skincare review. You might also like: 15 Brilliant Skincare Routine Ideas That Make a Real Difference
9. Standardizing Color Correction Protocols

In skincare research, color accuracy is non-negotiable. If a Vitamin C serum oxidizes, it turns from clear to yellow. If my setup adds a yellow tint, I can’t track the product’s degradation. I don’t rely on my camera’s auto-white balance. I use a Datacolor SpyderCheckr 24 color chart ($49.00 on Amazon). Before I photograph anything, I place this 5×8 inch card where the product will sit and take a reference photo. I skipped this step last summer when documenting a 1.7 oz jar of Dr. Jart+ Cicapair Tiger Grass Color Correcting Treatment ($52.00 at Sephora). The product is pale green, but the late afternoon sun cast an orange hue on my setup. The photos made the green cream look brown, completely misrepresenting the formula. By using a physical color checker, I can click the neutral grey square in my editing software later, and it mathematically snaps all the colors back to reality. This ensures that the clinical white of a 16 oz tub of Cetaphil Moisturizing Cream ($17.99 at Costco) looks identical in January as it does in July. You might also like: 15 Stunning Aesthetic Natural Skincare You Haven’t Thought Of

Yeamon Gua Sha Facial Tools and Face Roller Set
Honestly, Yeamon Gua Sha Facial Tools and Face Roller Set surprised me — sturdier than it looks in the photos, and over 1 buyers gave it 4.5 stars.
10. Executing Accurate Swatch Documentation

Documenting the spreadability of a cream requires a standardized swatching technique. You can’t just smear it on your hand. Skin tones vary, and the back of a hand has pores and hair that distract from the product’s finish. I swatch everything on a 6×6 inch clear acrylic sheet ($8.99 at a craft store) placed over Thunder Gray paper. To ensure consistency, I use a metal laboratory spatula to dispense exactly 1/8 teaspoon of product. I tried using my finger to swatch a 1.7 oz jar of Tula Cult Classic Purifying Face Cleanser ($34.00 at Ulta) a few months ago. The heat from my finger melted the gel cleanser unevenly, making the swatch look jagged. Now, I use a 2-inch silicone makeup spatula ($5.00 at Sephora) to drag the product across the acrylic at a 45-degree angle. This creates a smooth ribbon that shows its opacity. For a dense product like the 2 oz Weleda Skin Food ($19.49 at Sprouts), a firm drag shows the thick texture. For a watery serum, I let a single drop run down the acrylic sheet tilted at 30 degrees. You might also like: 15 Charming Aesthetic Pictures Skincare Worth Trying This Year
11. Managing Shadows with Negative Fill

While I discussed using white foam board to fill in shadows, sometimes you need the opposite. When photographing clear glass or white plastic against a white background, the product can lose its edges. This is where negative fill is necessary. I use pieces of matte black foam board ($4.29 at Michaels). I cut them into 4×8 inch strips. If I’m shooting a white 1.5 oz pump bottle of KraveBeauty Great Barrier Relief ($28.00), I stand one of these black strips just outside the camera frame, on the shadow side of the bottle. The black board blocks ambient light from hitting that edge, creating a sharp, dark line down the side of the white plastic. I didn’t understand this at first. I tried to photograph a clear 5 oz bottle of COSRX Advanced Snail 96 Mucin Power Essence ($25.00 at Ulta) on a white background using two bright lights. The clear bottle absorbed so much light it vanished. By introducing black foam board to absorb light, you carve out the edges of transparent objects, giving them solid definition.
12. Dermatologist Recommended Lighting Angles

The phrase “dermatologist recommended” applies to the clinical documentation of products and their effects on the skin. When dermatologists take before-and-after photos, they use specific angles to highlight skin texture. I apply these standards to my skincare photography. The standard medical angle is 45-degree cross-lighting. This means the light source is 45 degrees to the side and 45 degrees above the subject. I use this exact angle when photographing the surface texture of a product in its jar. When I opened a new 1.7 oz jar of Clinique Moisture Surge 100H ($46.00 at Macy’s), I set my light at that 45-degree angle. It highlighted the slight ripples on the surface of the pink gel, proving its lightweight consistency. If I’d placed the light directly above the jar, the gel would have looked flat and featureless. I used to blast my products with a ring light from straight on. Ring lights flatten all texture. If you want your product photography to look like serious research, use angled light to reveal the physical reality of the formula.
I don’t claim to be a pro studio photographer, but treating product documentation like a science experiment changed my output. I spent years fighting bad lighting and weird reflections before I finally bought that $3.99 piece of plastic at Michaels. If you’re documenting formulas for a blog, a review site, or your own research, stop using your kitchen overhead lights and start controlling your environment. The difference between a murky, yellow photo and a crisp, clinical shot is usually just a piece of foam board and a better understanding of angles. I highly recommend starting with the 50/50 glycerin trick. It’s cheap and immediately improves the look of hydration products on camera. Save this page or pin these techniques for the next time you’re trying to capture the exact texture of a new moisturizer without making it look like mayonnaise. Trust me on this.

EQQUALBERRY Vitamin Illuminating Serum | Niacinamide 4% +
EQQUALBERRY Vitamin Illuminating Serum | Niacinamide 4% + Brightening has been one of the most consistently praised picks in this category. 108 reviewers averaged 4.5/5.
Frequently Asked Questions
What is the best light for natural skincare photography?
Soft, diffused window light during the early morning is ideal. It provides a cool, clean color temperature that accurately displays white creams without casting yellow, expired-looking hues.
How do you stop glass bottles from reflecting the room?
You must build a light tent using white or black matte foam boards around the product. This blocks the curved glass from reflecting your face, the camera, or the surrounding room.
What backdrops work best for skincare products?
Seamless paper rolls in neutral tones like Bone or Thunder Gray are standard for clinical shots. For a more organic look, use matte stone surfaces like raw travertine, which absorbs light instead of reflecting it.
How do you photograph the texture of a clear serum?
Use a macro lens and dispense the serum onto a clear acrylic block. Add a black foam board just outside the frame to create negative fill, which defines the edges of the transparent liquid.
